

Get ready for some NOT so pretty pictures. Demolition and construction are fully underway around here and it’s exciting to see the changes taking shape during the kitchen renovation! I think it is very helpful to the design process to examine the walls and floors torn apart. Before and after pictures are lovely, but taking a closer look at the demolition and construction phase helps to illustrate exactly what steps are being taken to create the transformation. Here’s a list of what’s being done in our kitchen to take it from 1950s sad to 2016 rad. Check this post for a reminder on the BEFORE pics.
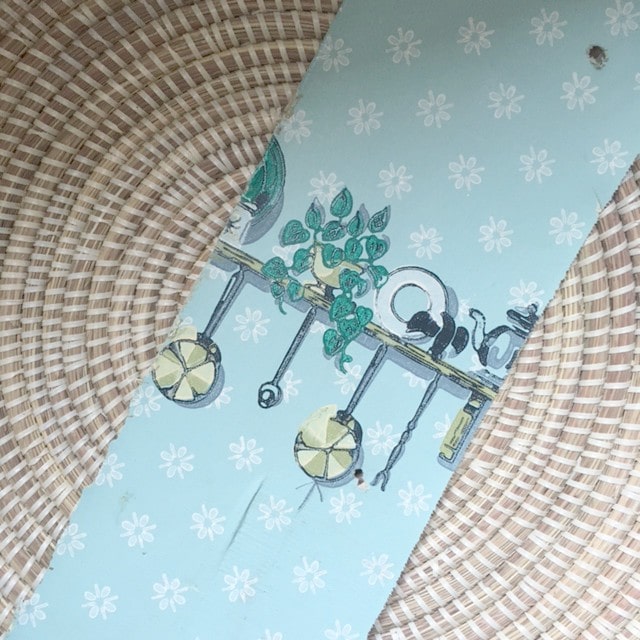
Here’s some of the 1950s (or maybe 70s) wallpaper we found behind the cabinets!
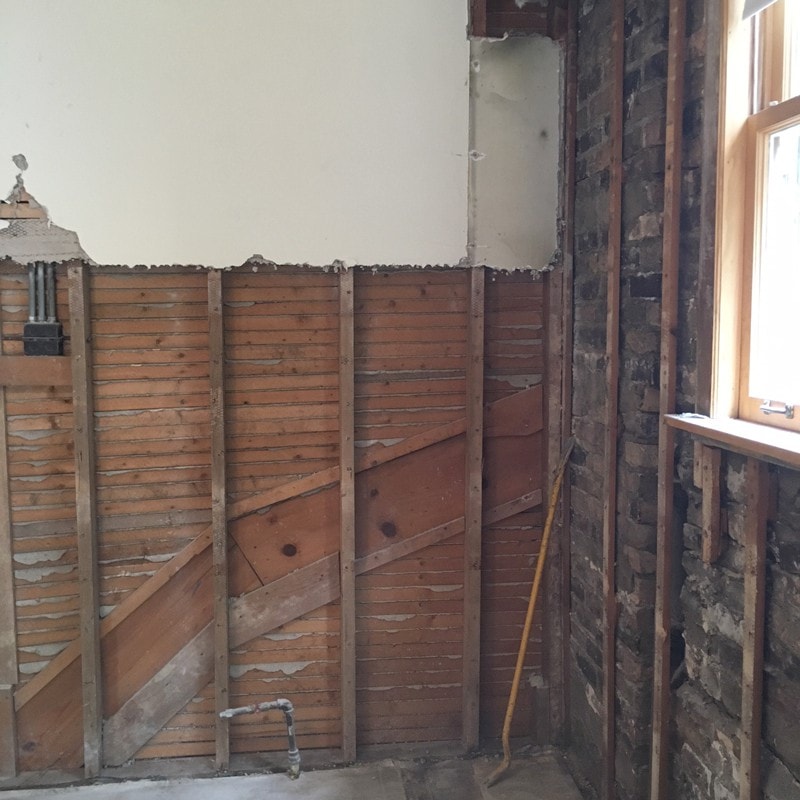
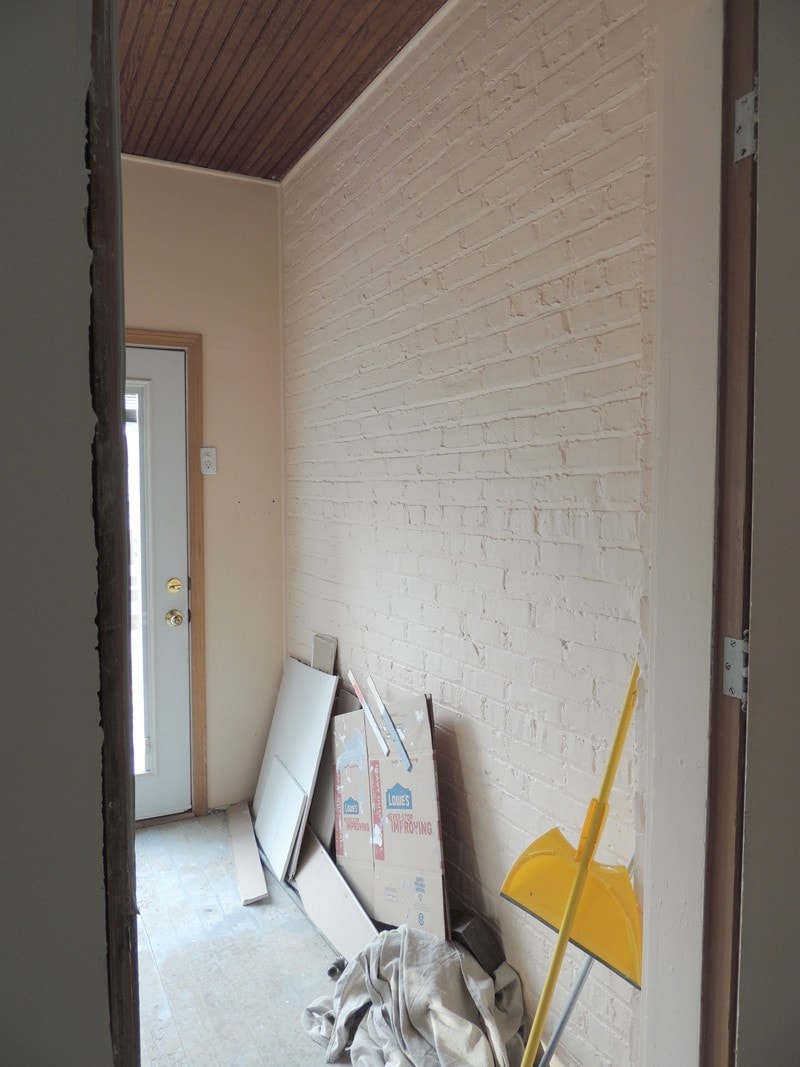
1. All cabinetry, appliances and flooring removed. There was a lot of wall tile in this kitchen so that all had to come out as well. This is what an old plaster and lath wall looks like!
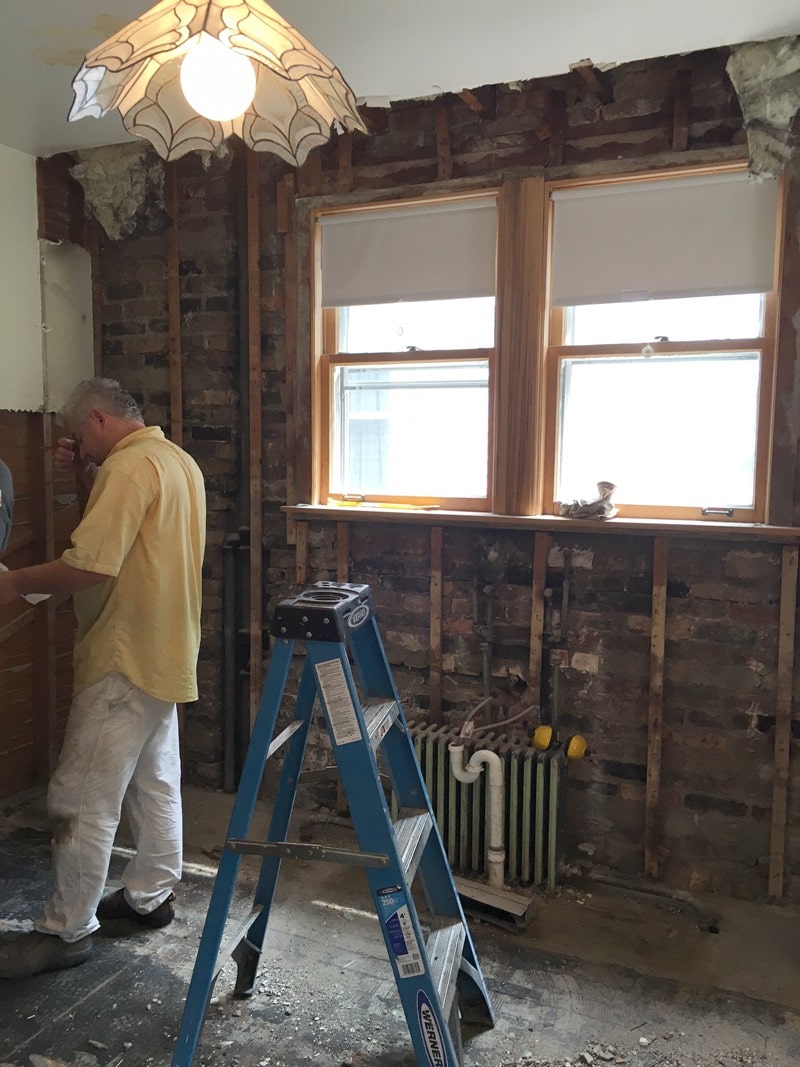
2. Even after double checking all our cabinet measurements, we found a pipe we could not see when estimating the full size of the radiator, which was under our kitchen sink. We had a minor freak out when we though the dishwasher might not fit, but luckily there are some decent solutions for this sort of thing. We purchased a hydronic toe kick radiator that will use our radiant heat system and take up much less space. We’ll also need to modify another cabinet with a vent for our air conditioning. These vents go in the toe kick area, directly under the cabinet. This modification isn’t my favorite thing to do, but in older homes it works well, and is relatively unnoticeable especially if you paint the vent the same color as the cabinetry. You can see the radiator and air conditioning vent below.
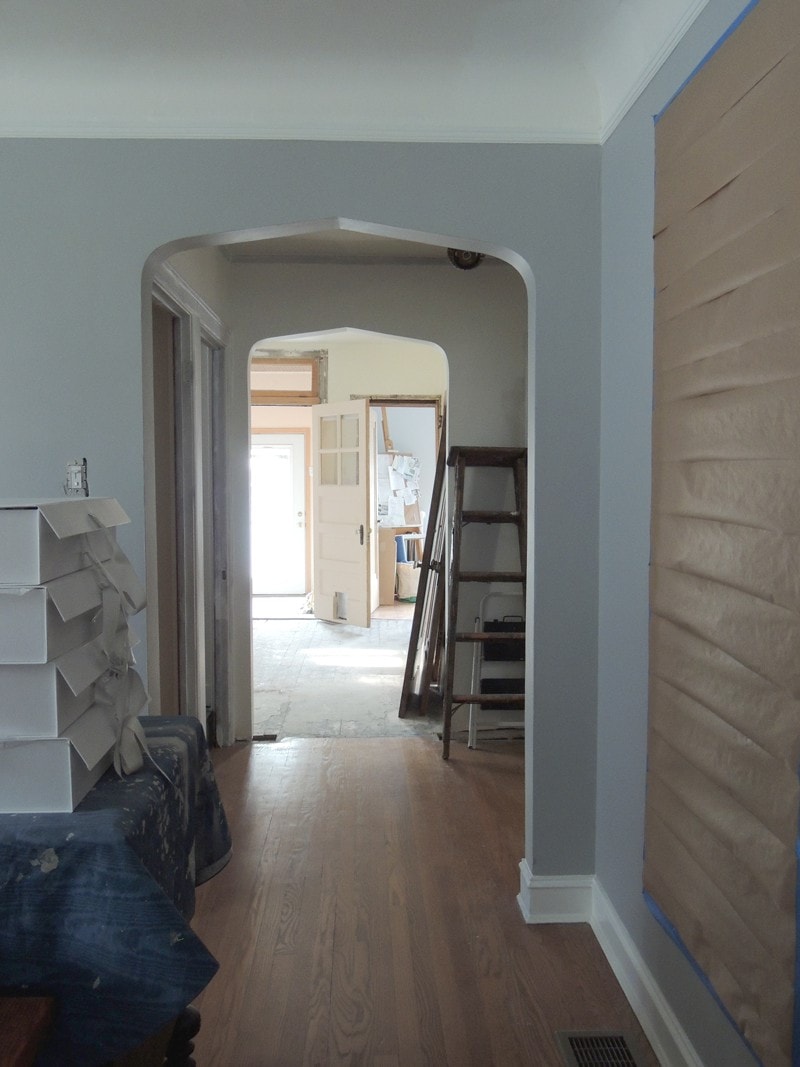
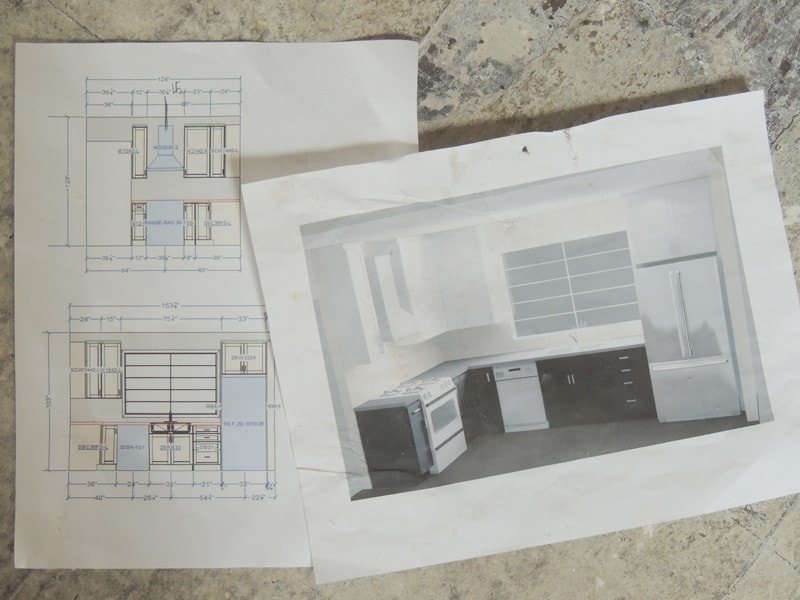
3. My favorite architectural change was framing a new opening for the kitchen doorway. The old one was a tight framed doorway that seemed to have been a pocket door at one time. We had just enough room to slightly widen the kitchen doorway, and mimic the arched shaped openings in the living and dining rooms.
4. New electrical was run because the old outlets weren’t up to code. You’re supposed to have an outlet about every two feet in a kitchen. We also added a box above the sink for task lighting. You can see the radiator is gone here! And all the new drywall is up. Plus we ran ducting up through the ceiling and roof so we are able to vent the stove hood.

5. The soffits came out too, along with the cabinetry and strange tiny closet that was once on this wall.

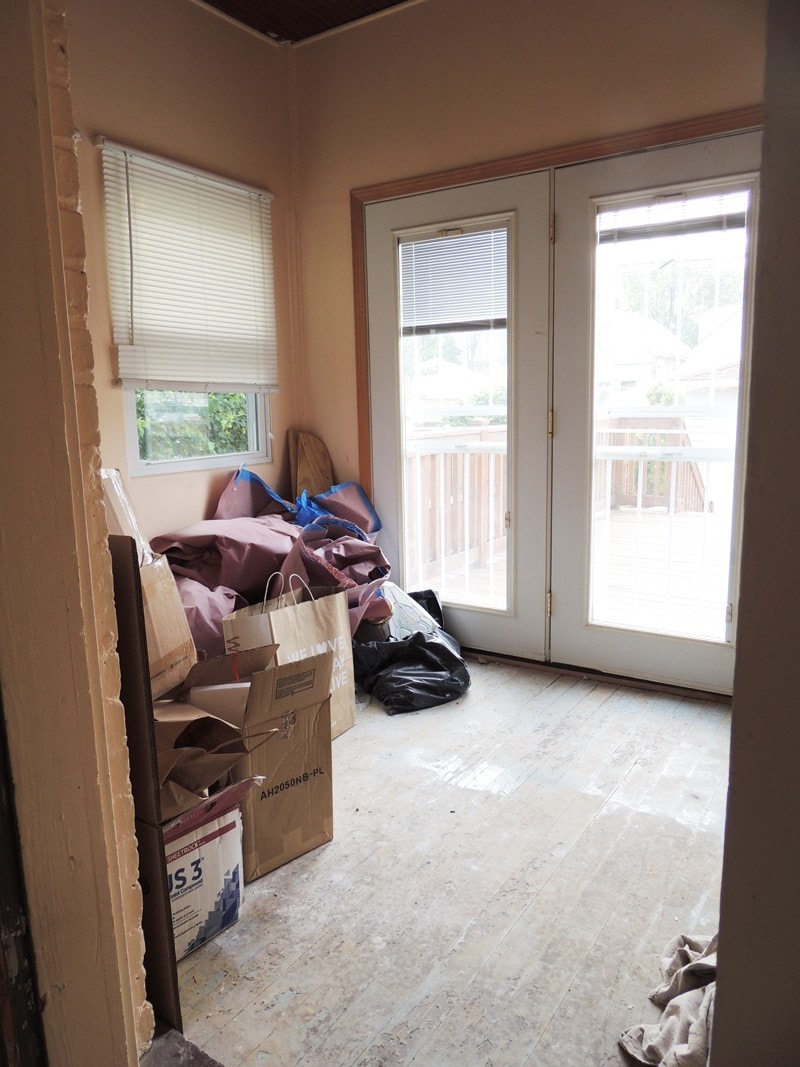
6. The small mudroom off the kitchen also had linoleum removed. This space isn’t as well insulated as the rest of the house, and an easy solution to keep it heated during the colder months is adding heated floor mats. These provide electric radiant heat, and can be laid under most types of flooring. We are going to use cement tile and give this little space some punch!
7. A little tip is to make sure to have measurements and drawings handy for your trades people at all times. This type of work needs to be very exact and mistakes can get made. As long as you catch them before the walls are closed up again you’re usually okay, so keep an eye on where outlets are going and question anything that looks off to you.
Next all the floors will be sanded, stained and poly coated. We were lucky to have original pine under all that linoleum, but matching wood tones on different spieces can be tough! The rest of the first floor is oak. I’m learning about stains and wood bleach as we go, so I’ll post more about that soon.
Thanks for following along friends. Ask me anything if you’re experiencing similar reno issues. I’m excited that we can almost see the finish line here!
XO – CLAIRE
Leave a Reply
October 7, 2024
read the post
YOU MIGHT ALSO LIKE
April 17, 2024
read the post
September 2, 2021
read the post
August 24, 2021
read the post

Meet Claire
Claire’s creative energy comes from her unique perspective on the world as both a trained interior designer and a passionate yoga teacher. Her affinity for kitchen design, timeless style and eclectic decorating are shared here, along with lots of interior design education and tips. Thanks for being here, please enjoy!

