

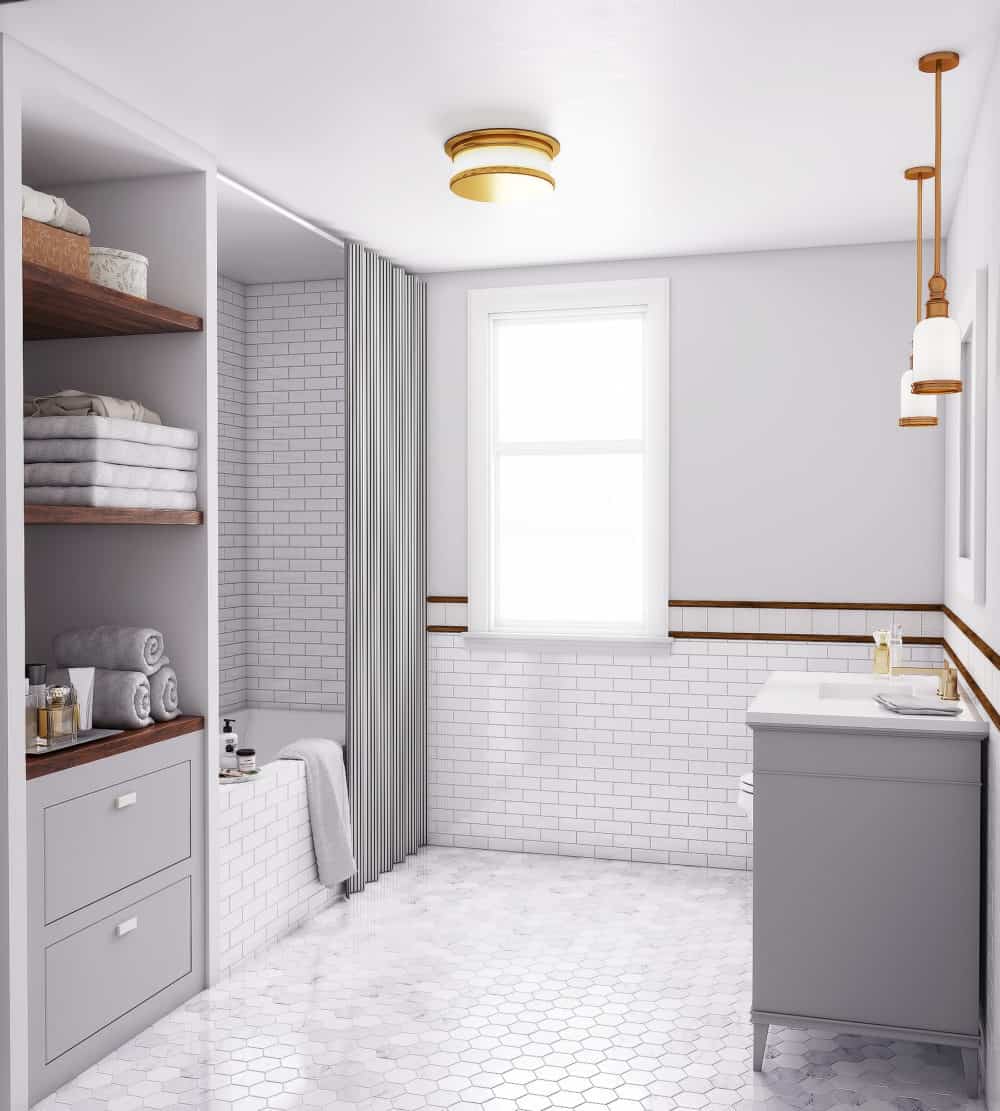
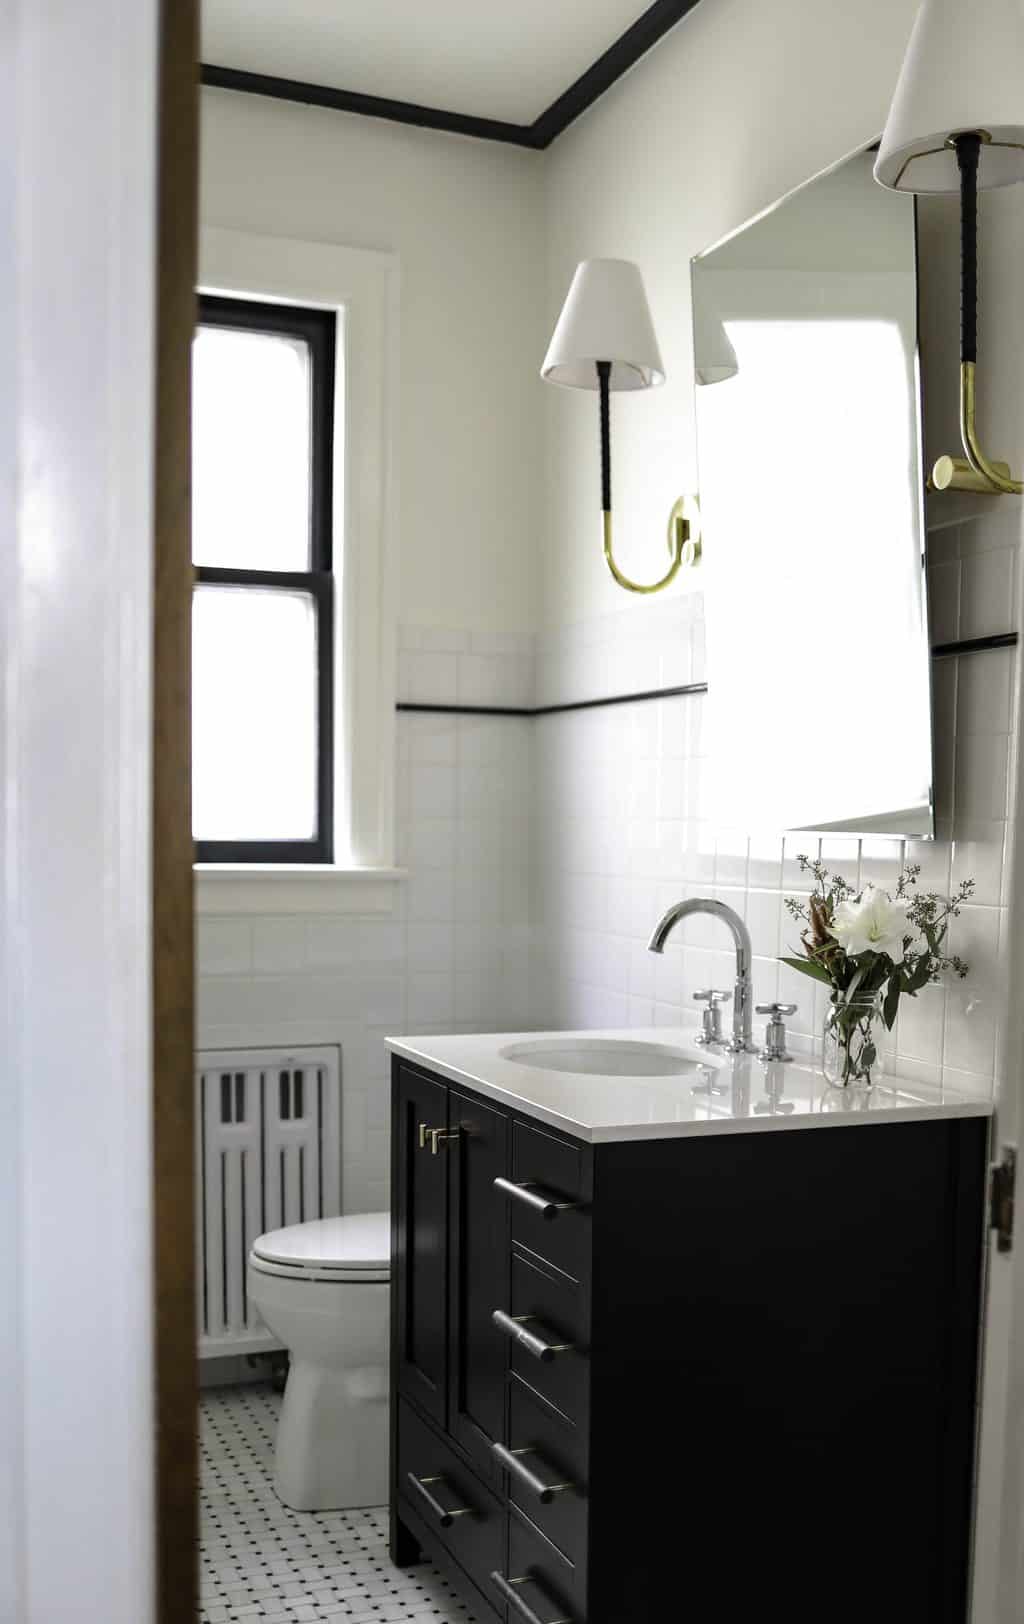
Last month I shared our plans for the new bathroom upstairs, including some before photos and the fabulous rendering Deckor helped me create. We are doing our best to make the most of what will be a small master bathroom. The rendering makes it look a little wider than real life. : )
This is what we are hoping the AFTER looks like!
Here is where we are currently at after some serious DEMO: #reallife
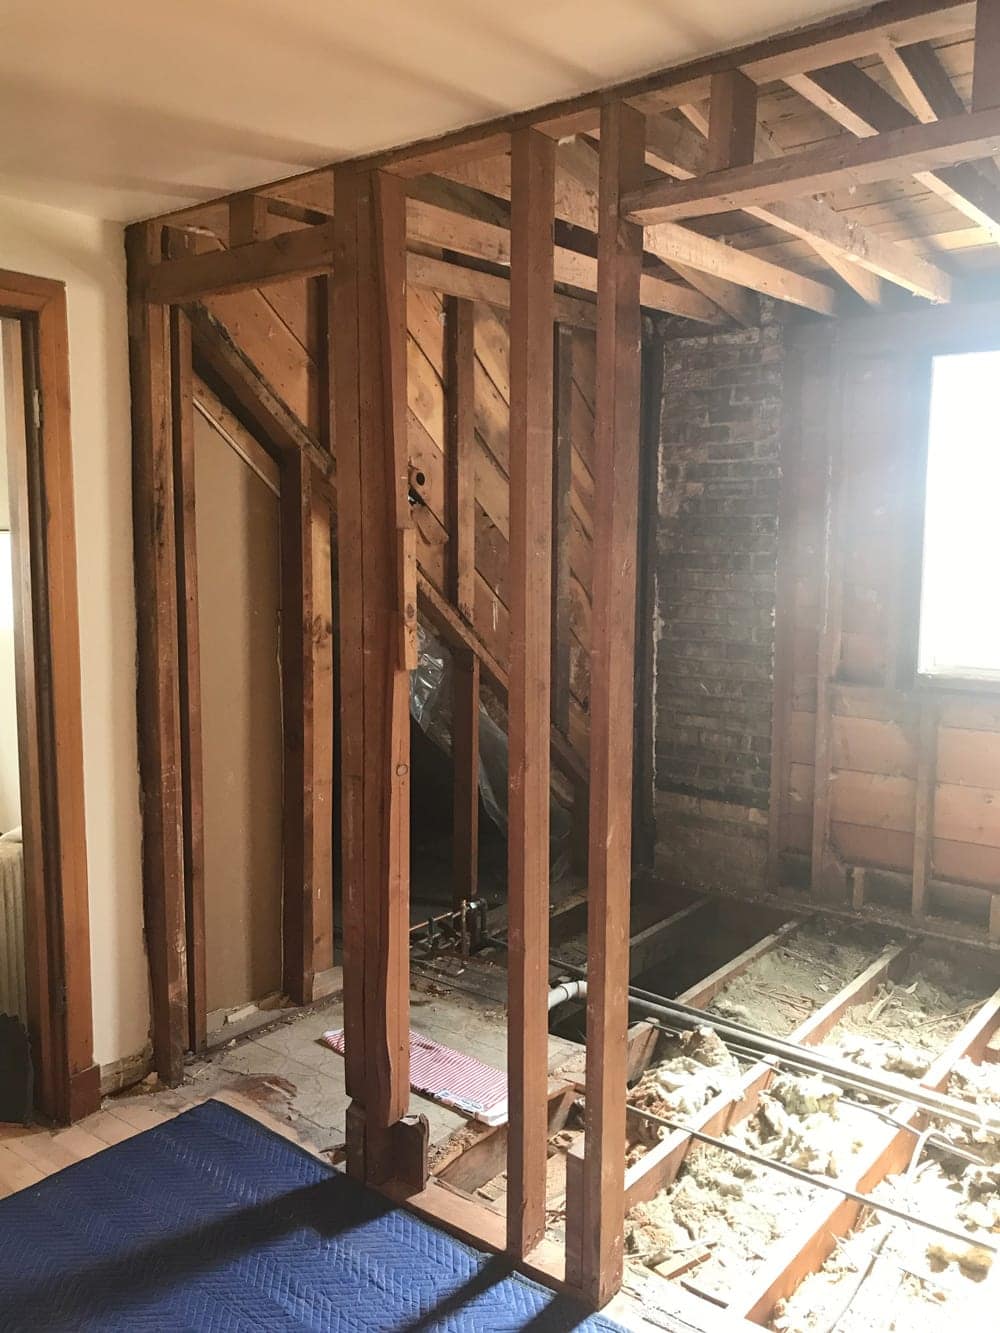

The previous owners (or whomever in the home’s history) made some not so awesome plumbing choices. In order to safely bear the weight of a big tub and lots of tile, we will be doing some plumbing work to re-route plumbing and make sure floor joists are safe. Proper venting, insulation, drywall, etc. all need to occur as well.
- A note on permitting: I always recommend checking with your local jurisdiction on permit requirements. Typically, if doing a lot of the work yourself you can get a homeowner’s permit with help from your city. Usually when working with a contractor you can ask for their assistance to obtain permits, and at times only certain permits will be required such as electrical. Your city website is the best place to look for information.
But onto the FUN STUFF:
I want to breakdown the design a bit more and share some of our sources, as we are really excited to be working with some awesome vendors on this project! We want to keep the bathroom classic and peaceful. It can be hard to hold myself back from some of the current trends like black matte plumbing fixtures, but eventually we’ll sell this house, and want to keep resale and timeless style in mind. Since we have brass in the house downstairs, and all the doorknobs upstairs will also be brass, we will continue the theme with brass accents on the lighting and plumbing fixtures. Although, I have no issue mixing some polished nickel into the mix too!
THE DESIGN BOARD
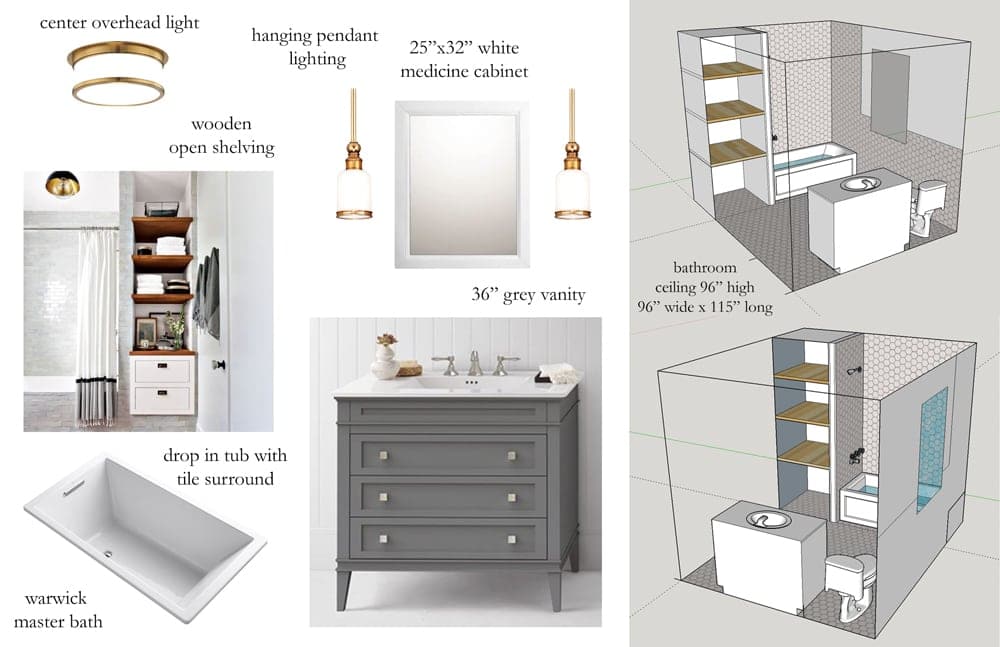
We didn’t have quite enough room for a double vanity (so sad), but love the Ronbow 36″ Laurel Vanity. I find drawers best to really maximize storage in the bathroom, and with three functioning drawers and a classic sink top this was one of our favorite options. A nice big, recessed medicine cabinet is also a great small master bathroom storage solution, and we opted for the classic white wood option from Ronbow as well.
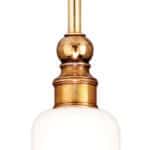
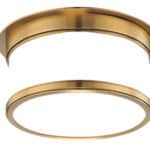
Our lighting is all by Hudson Valley. I loved the classic, but masculine feel of their Chatham collection. We went with pendants to flank the medicine cabinet, which is a little non-traditional but hopefully fun and functional. A good bathroom design tip is to have light on either side of the face, instead of only overhead, which casts more unsightly down shadows on your face.
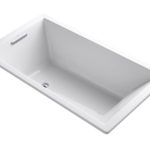
When choosing tubs, you’ll often be looking at a drop-in or undermount. A drop-in typically has some type of apron front, where a drop is made to be framed out and tiled over. It’s a little more expensive to do the drop-in option, but for a small space, we felt the clean lines would be a nice addition to the design. After sitting in a few tubs, we loved the new Kohler Underscore. It has an awesome back support and comes in various lengths. We went with 5’6″ to give us a little extra leg room! (5′ or 60″ is typical standard tub size).
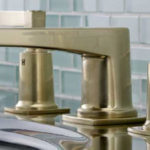
Watermark Designs has some of my favorite plumbing fixtures on the market. They have 24 metal finishes and unique modern designs. We chose their H-Line collection for the vanity faucet and shower/tub set. It’s hard to see in the picture, but the little details like the H and C for hot and cold really get me!
Last but not least, we wanted to add a little decorative element. If you know me, I’m a pattern lover and this design was feeling just a bit generic for my taste. Luckily, I connected with Fireclay Tile about the possibility of using one of the custom hand-painted tiles, but getting it scaled down in size. The usual 8×8 tile size would have been large for this bathroom. I was very pleased to learn that they could create the pattern we loved in a smaller 4×4 size, and with custom colors. They have this super fun feature on the website, where you can play around and design / color your own tile. Try it HERE.
We chose the pattern Summit, with colors White Wash Gloss, French Linen Gloss and Moonshine Gloss. If you scroll back up to the rendering you can see where the 4×4 tile will be sandwiched in between the wood trim details. Whether interpreted as a mountain or wave, I love the natural and organic element this tile will add to the bath design!

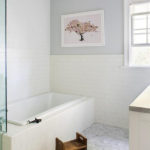
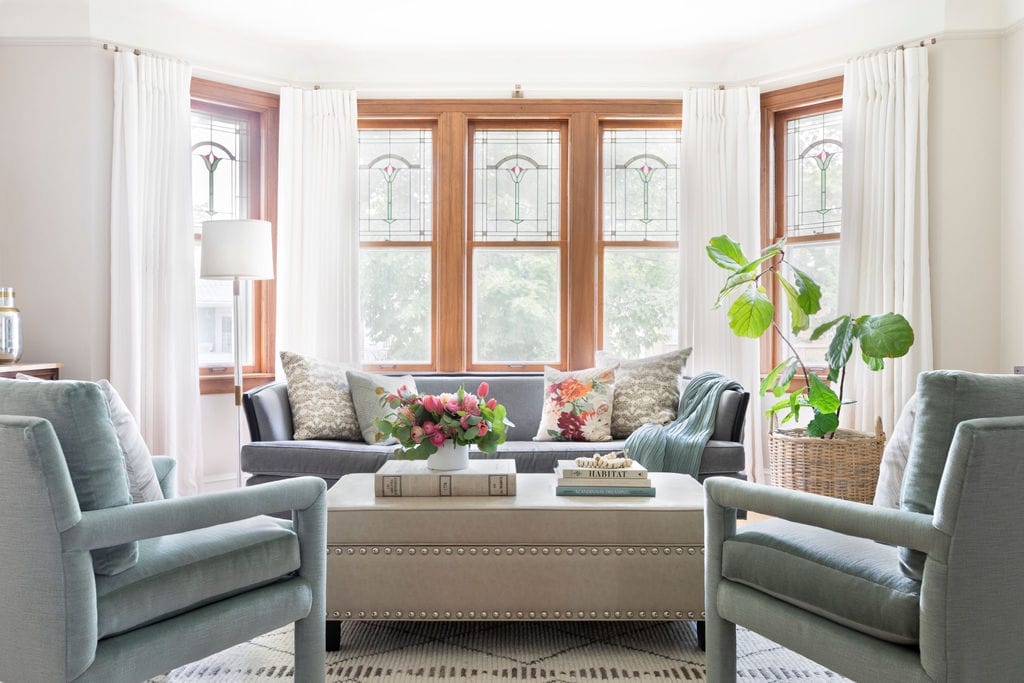
These two inspiration images were also key to finalizing the design. I’m excited to bring wood elements into the bathroom with open shelving and this trim detail. I’ve never seen a wood detail quite like this so I hope we pull it off!

Pinterest image, source unknown.
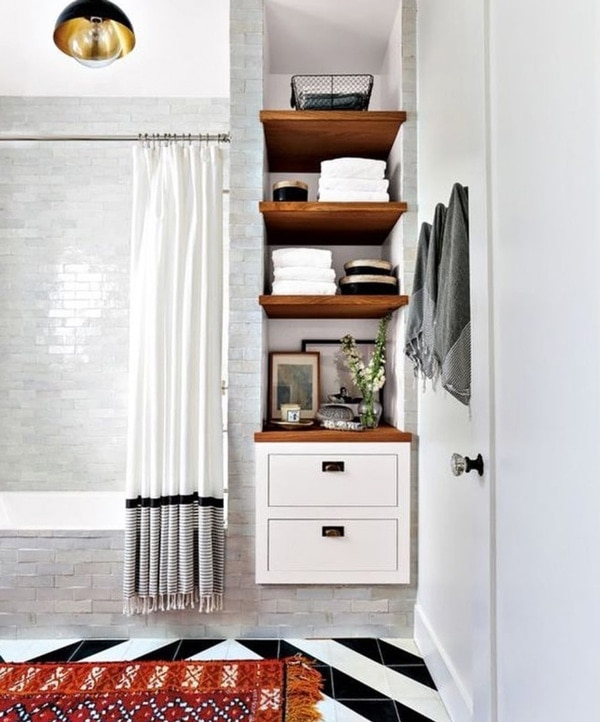
Image via Luxe.daily / Luxe Mag.
Alright, there you have it! We hope to have a functioning bathroom in a month or two or three (at the max!).
XO – CLAIRE
Leave a Reply
October 7, 2024
read the post
YOU MIGHT ALSO LIKE
April 17, 2024
read the post
September 2, 2021
read the post
August 24, 2021
read the post

Meet Claire
Claire’s creative energy comes from her unique perspective on the world as both a trained interior designer and a passionate yoga teacher. Her affinity for kitchen design, timeless style and eclectic decorating are shared here, along with lots of interior design education and tips. Thanks for being here, please enjoy!


[…] View Image More Like This […]