

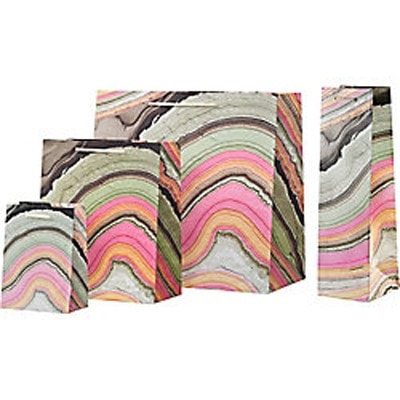
By now you’ve probably noticed the marbling craze. Wallpaper, gift wrap, even fabric – I’m seeing it everywhere and that’s cool because I love it! I remember back about 10 years ago, one of my favorite jewelry boutiques gave out these little marbled gift bags and I’d always save them because they were so pretty.
Lucky for us, Carly of Clementine Studio, is sharing a quick and kid-friendly DIY paper marbling lesson with us today! If you missed Carly’s Women Who Make Interview, which posted earlier this week, make sure to read about her journey as an artist and illustrator.
DIY PAPER MARBLING WITH NAIL POLISH
What you’ll need:
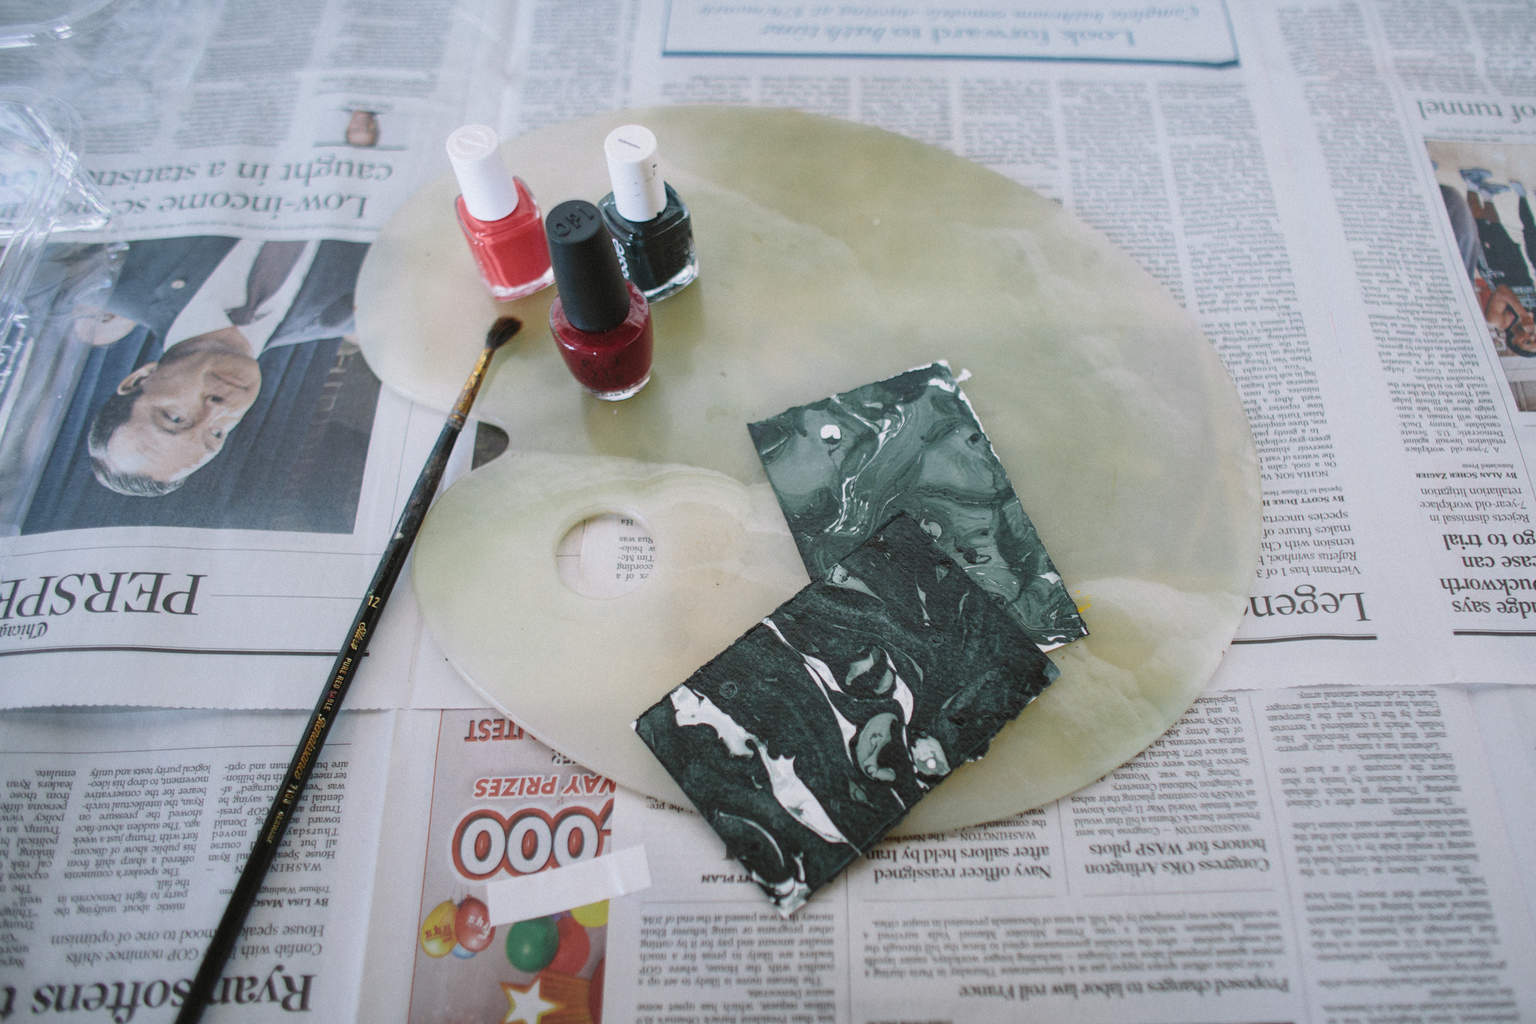
- a few varying nail polish colors (bold and bright colors yield the best results!) try to avoid any quick-drying polishes
- paper you want to marble: notecards, flat cards, envelopes etc. Try to get a card stock that has some weight to it and isn’t too flimsy
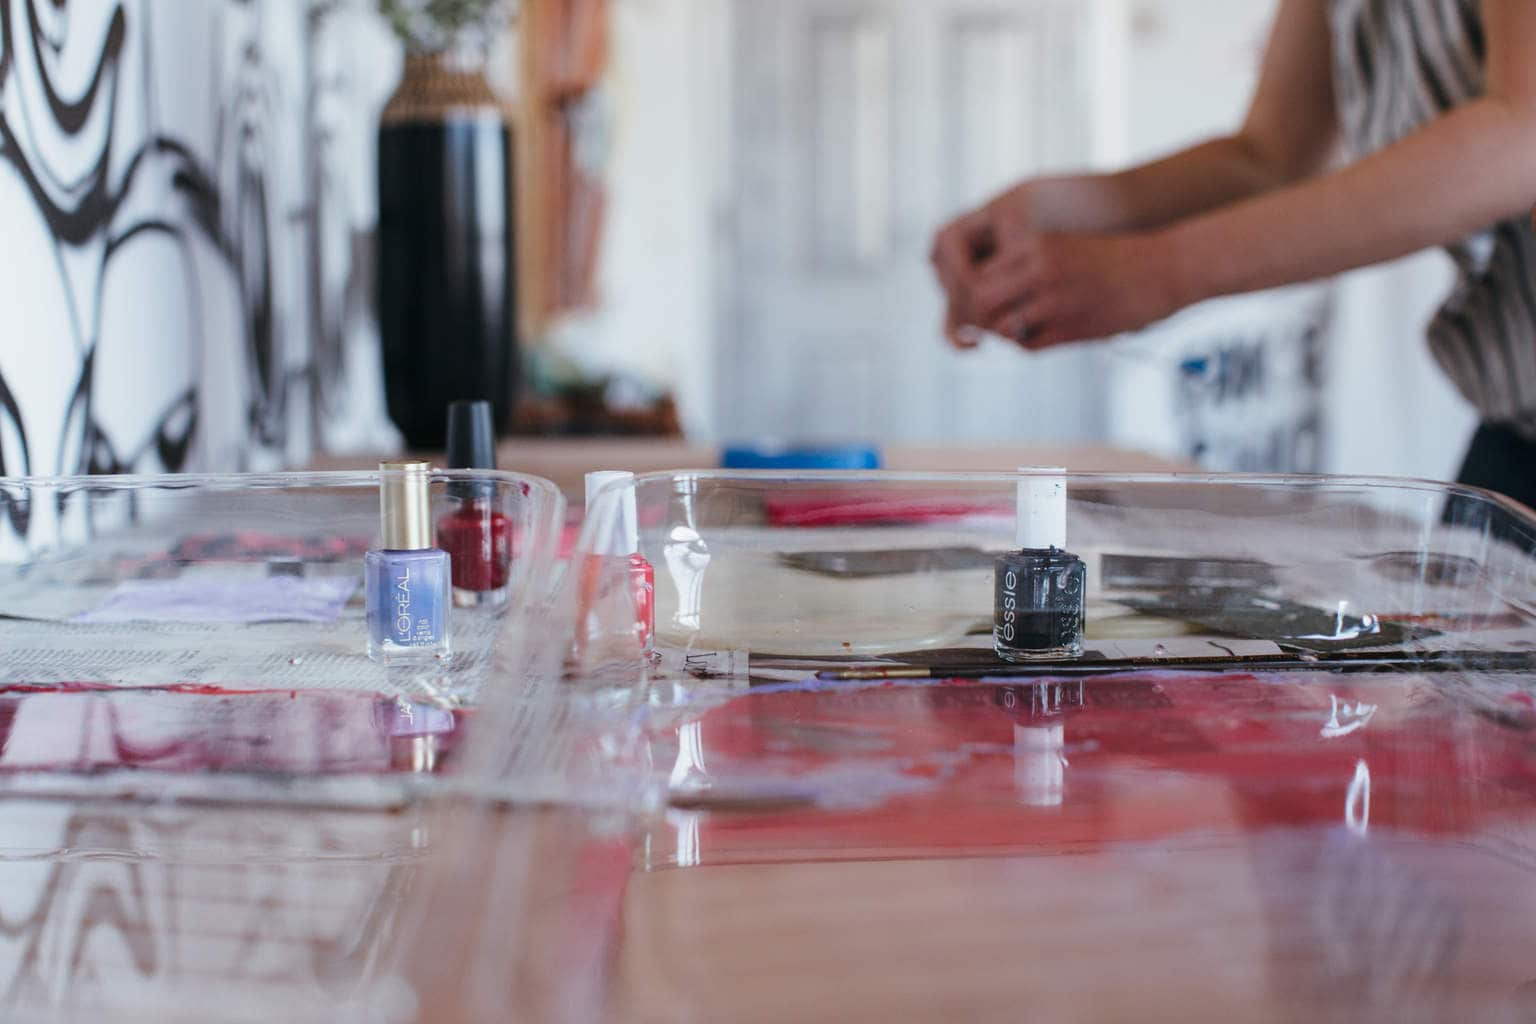
- a wide, shallow bowl, plate or plastic paint tray filled with an inch or two of water
- a straw or stick
Step 1:
- Optional: line the back of your paper with masking tape to prevent the color spilling over the edges

Step 2:
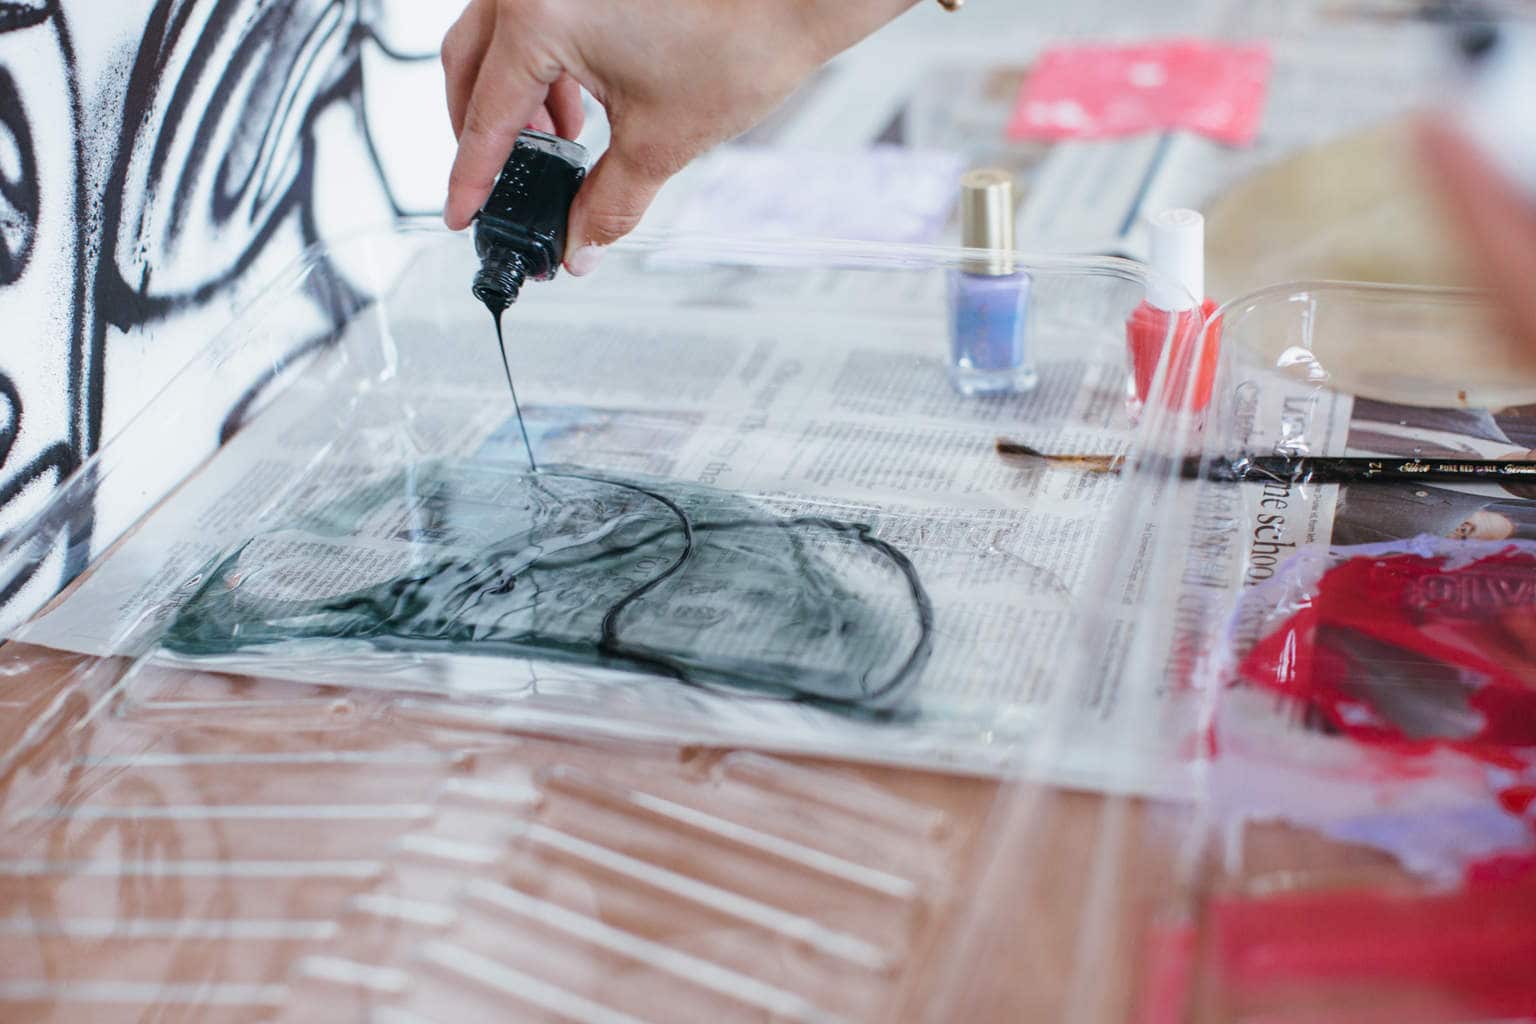
- choose 1 color of nail polish to experiment with first (you can add in more colors later) and slowly pour some into the water
- it’s important to act somewhat quickly since the longer the polish is exposed to air it creates a sticky film on the surface and is not as easy to manipulate the design
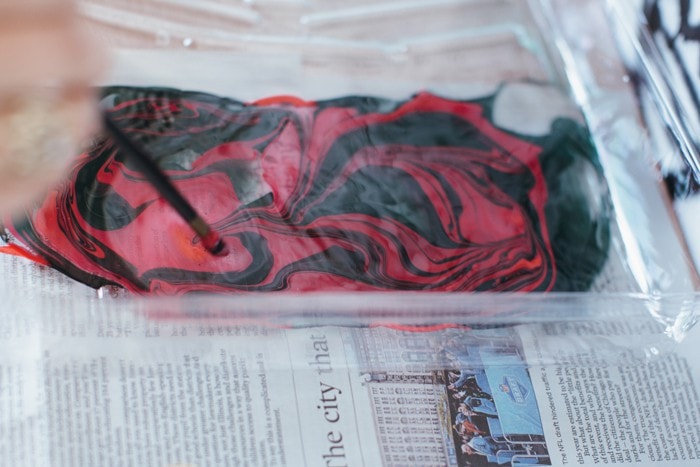
Step 3:
- take your straw or stick and swirl the nail polish color around in the water until it starts to expand and creates a marbleized look in the water
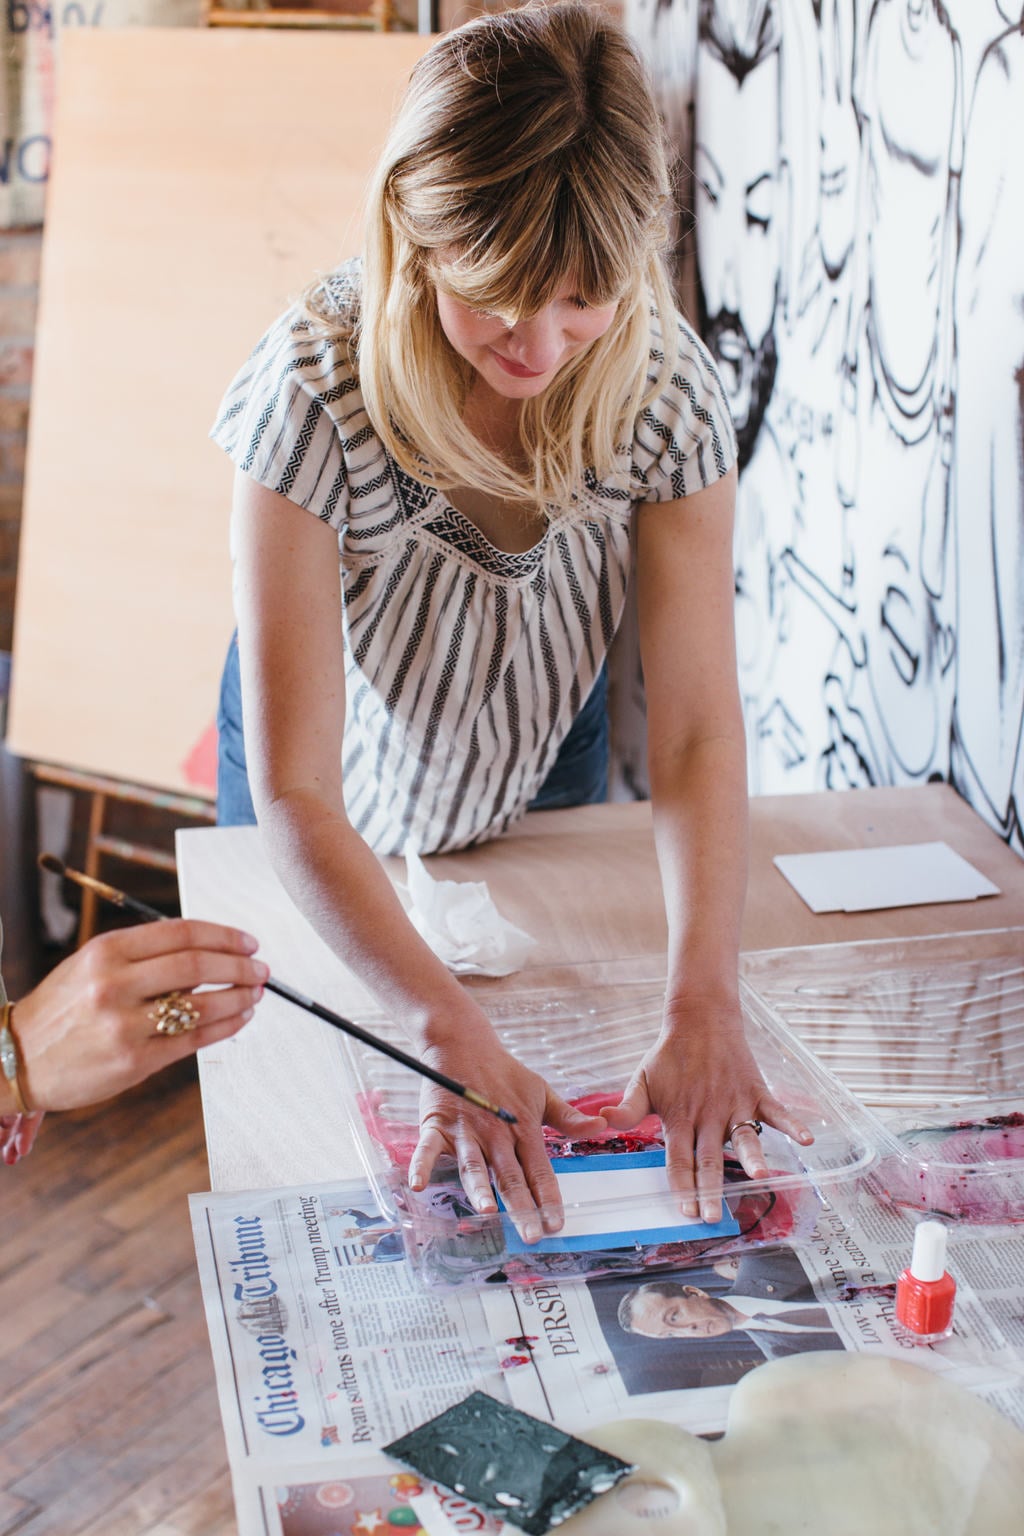
Step 4:
- quickly take your paper and gently lay it flat onto the surface of the water where the nail polish design is. Gently push down the corners so the water touches the entire surface. The color adheres immediately so no need to let the paper soak for longer than a few seconds.
Step 5:
- pull the paper out of the water and lay it flat, design side up, on newspaper (or a surface you don’t mind getting a bit dirty!)
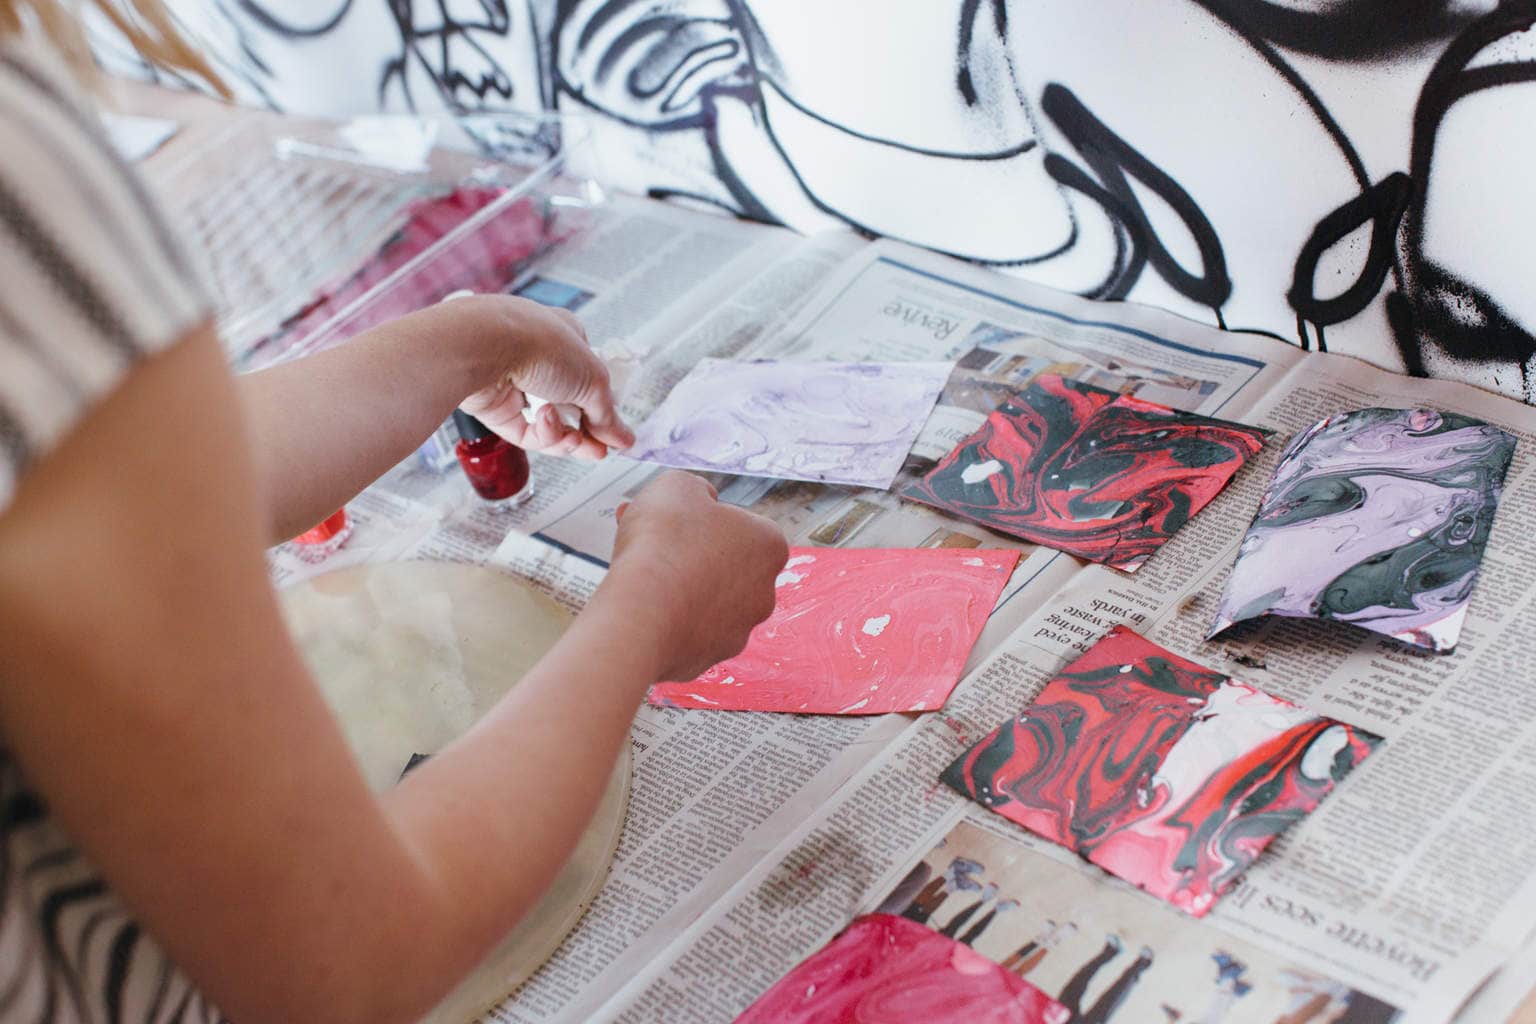
Step 6:
- Let dry and your marbled paper is ready to use and admire!
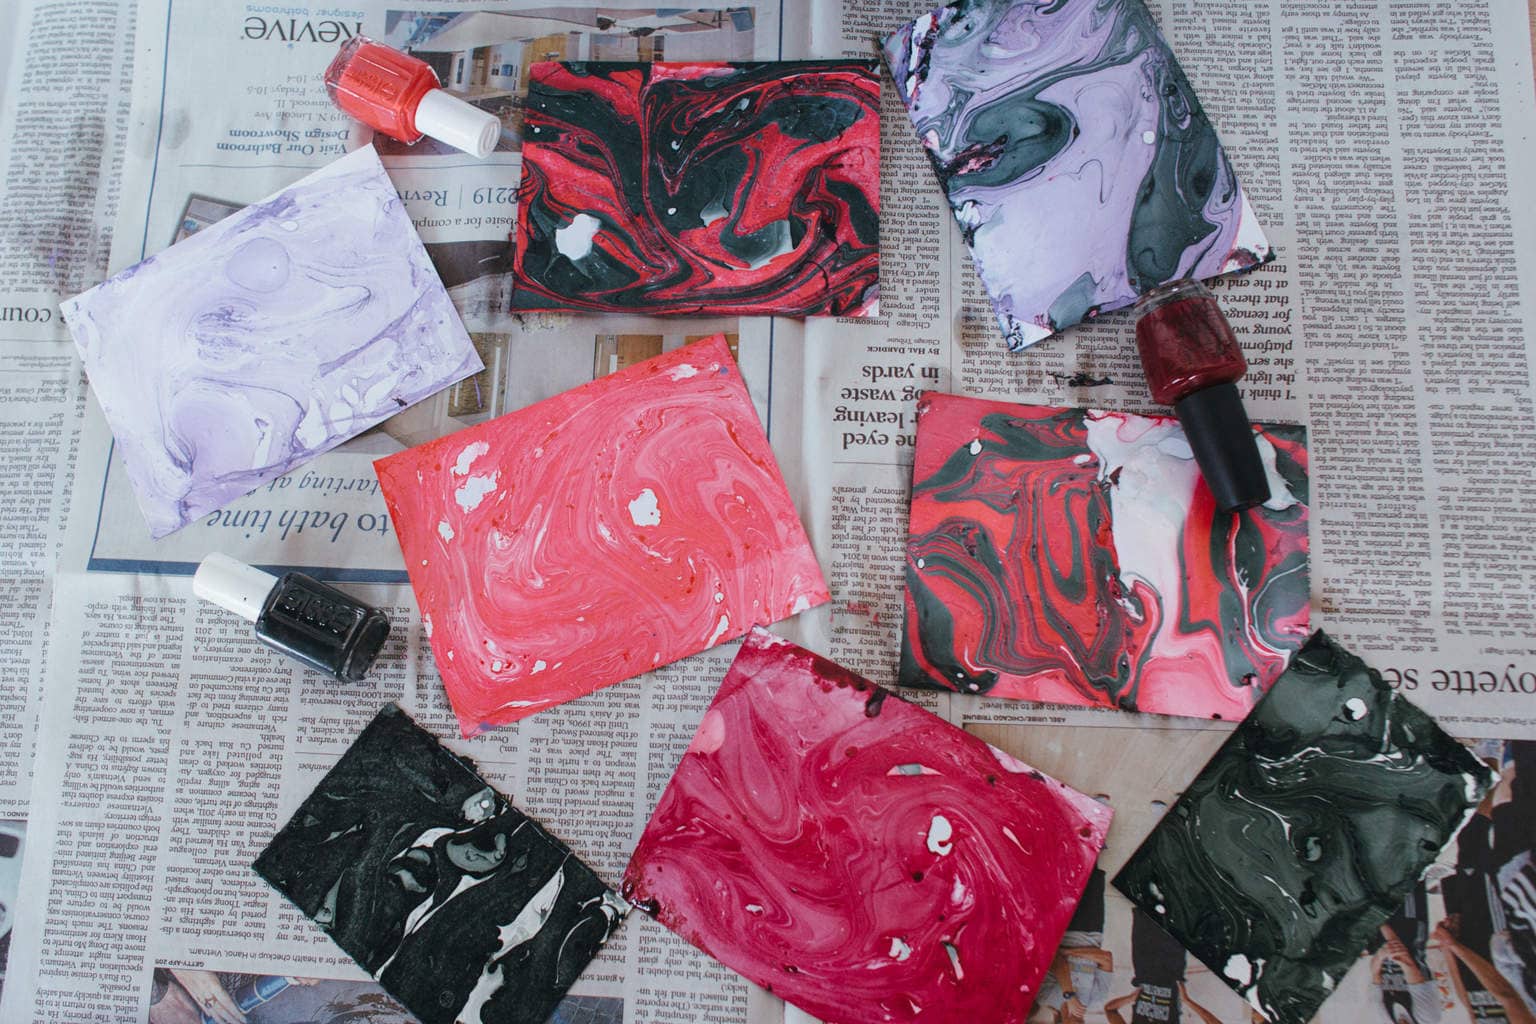
Thank so much to Carly for hosting me for the DIY paper marbling lesson. It’s the perfect quick craft project and you can make loads of beautiful notecards! I think putting them together in nice little packs would make awesome hostess gifts.
Here’s a little inspiration to take your marbling skills to the next level:
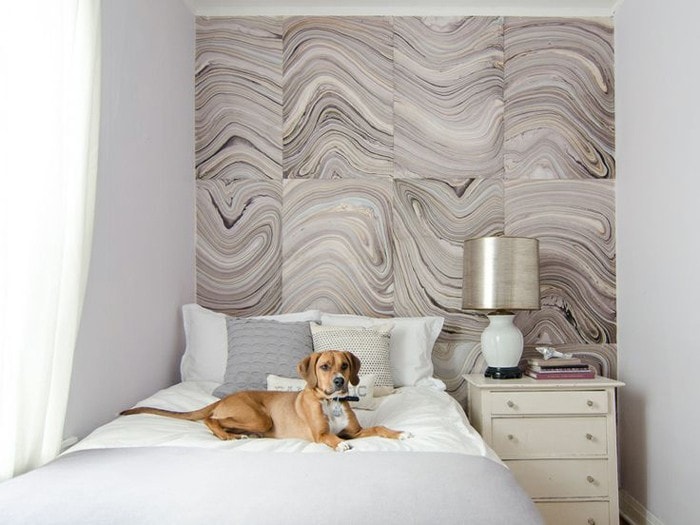
via Jourdan Fairchild
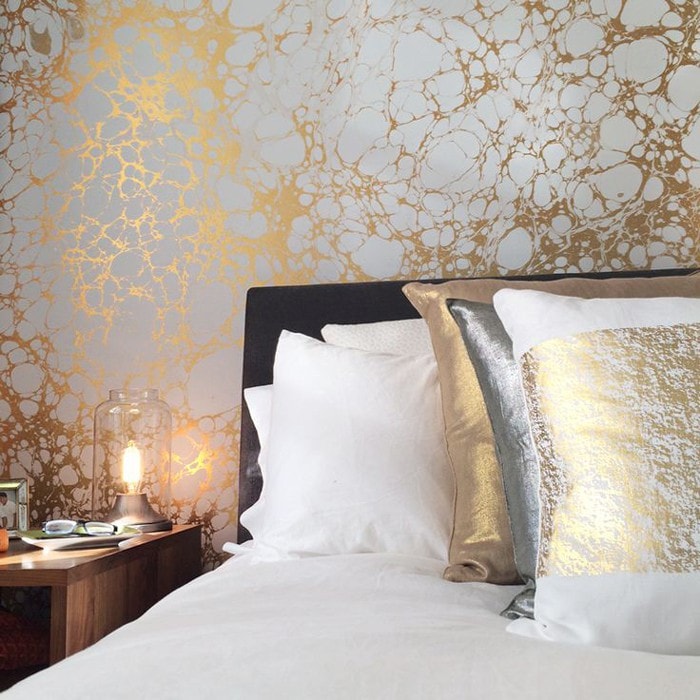
via Calico Wallpaper
Hope this inspires a leisurely crafternoon. I know my little nieces will love this project! Thanks again to Carly of Clementine Studio for providing to how-to steps.
XO – CLAIRE
Leave a Reply
October 7, 2024
read the post
YOU MIGHT ALSO LIKE
April 17, 2024
read the post
September 2, 2021
read the post
August 24, 2021
read the post

Meet Claire
Claire’s creative energy comes from her unique perspective on the world as both a trained interior designer and a passionate yoga teacher. Her affinity for kitchen design, timeless style and eclectic decorating are shared here, along with lots of interior design education and tips. Thanks for being here, please enjoy!

