

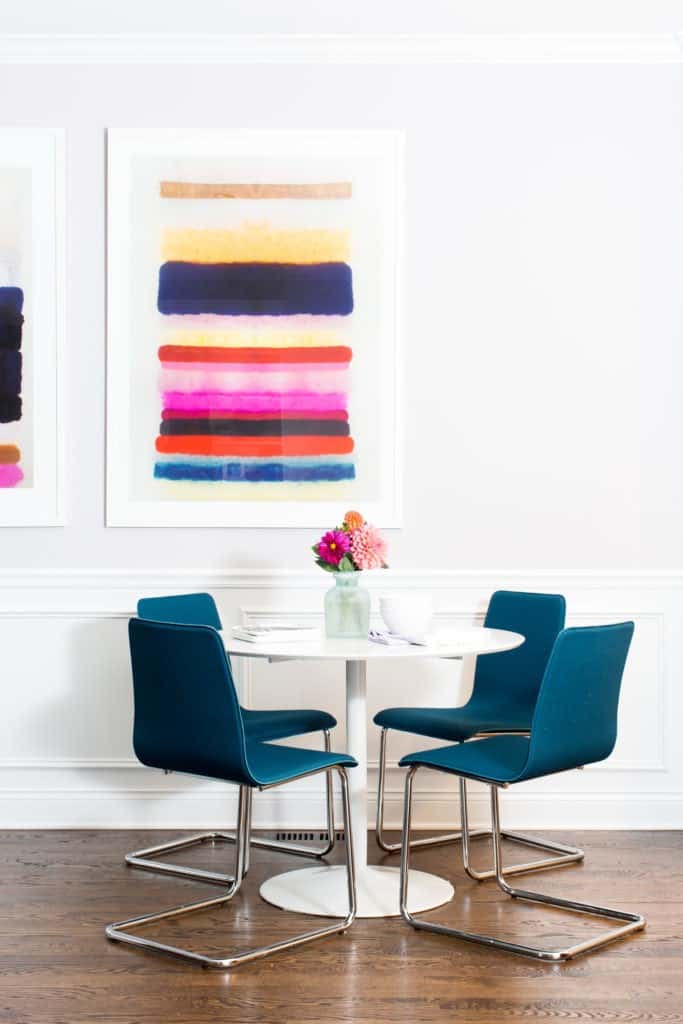
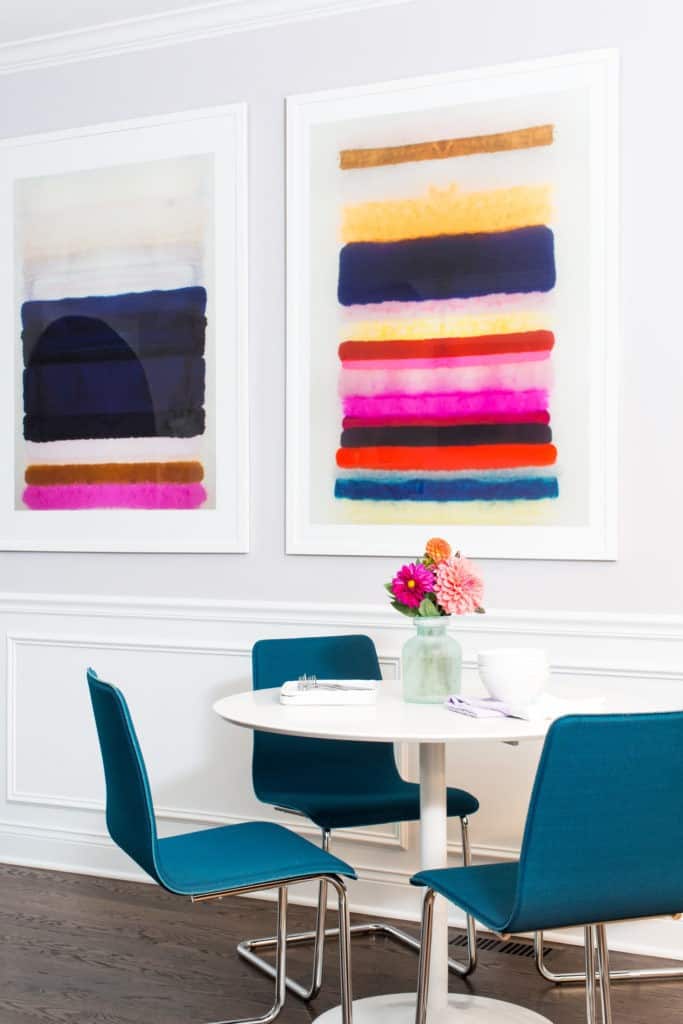
When Cate Gutter of Whisked by Cate saw artist Kristi Kohut’s vibrant abstract art she immediately thought to create her painted watercolor cookies for our photo shoot. What a fabulous idea! Can you see the translation? Here are two of Kristi’s prints in my client’s kitchen:
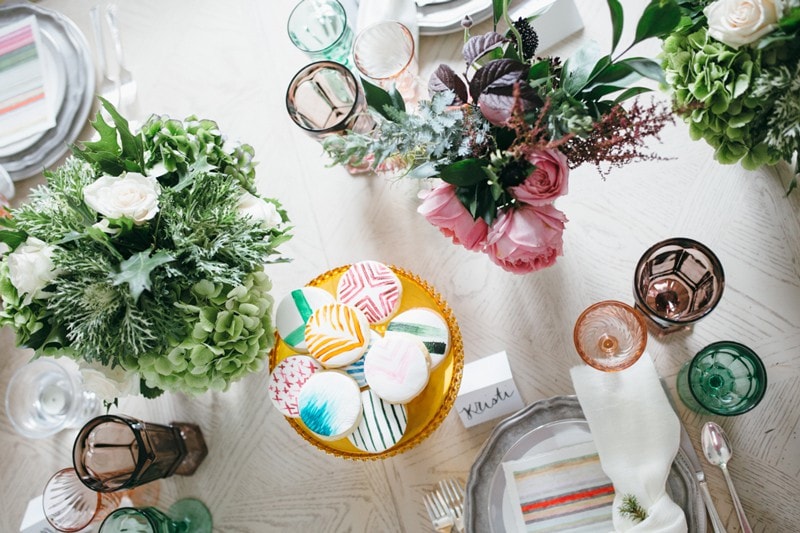
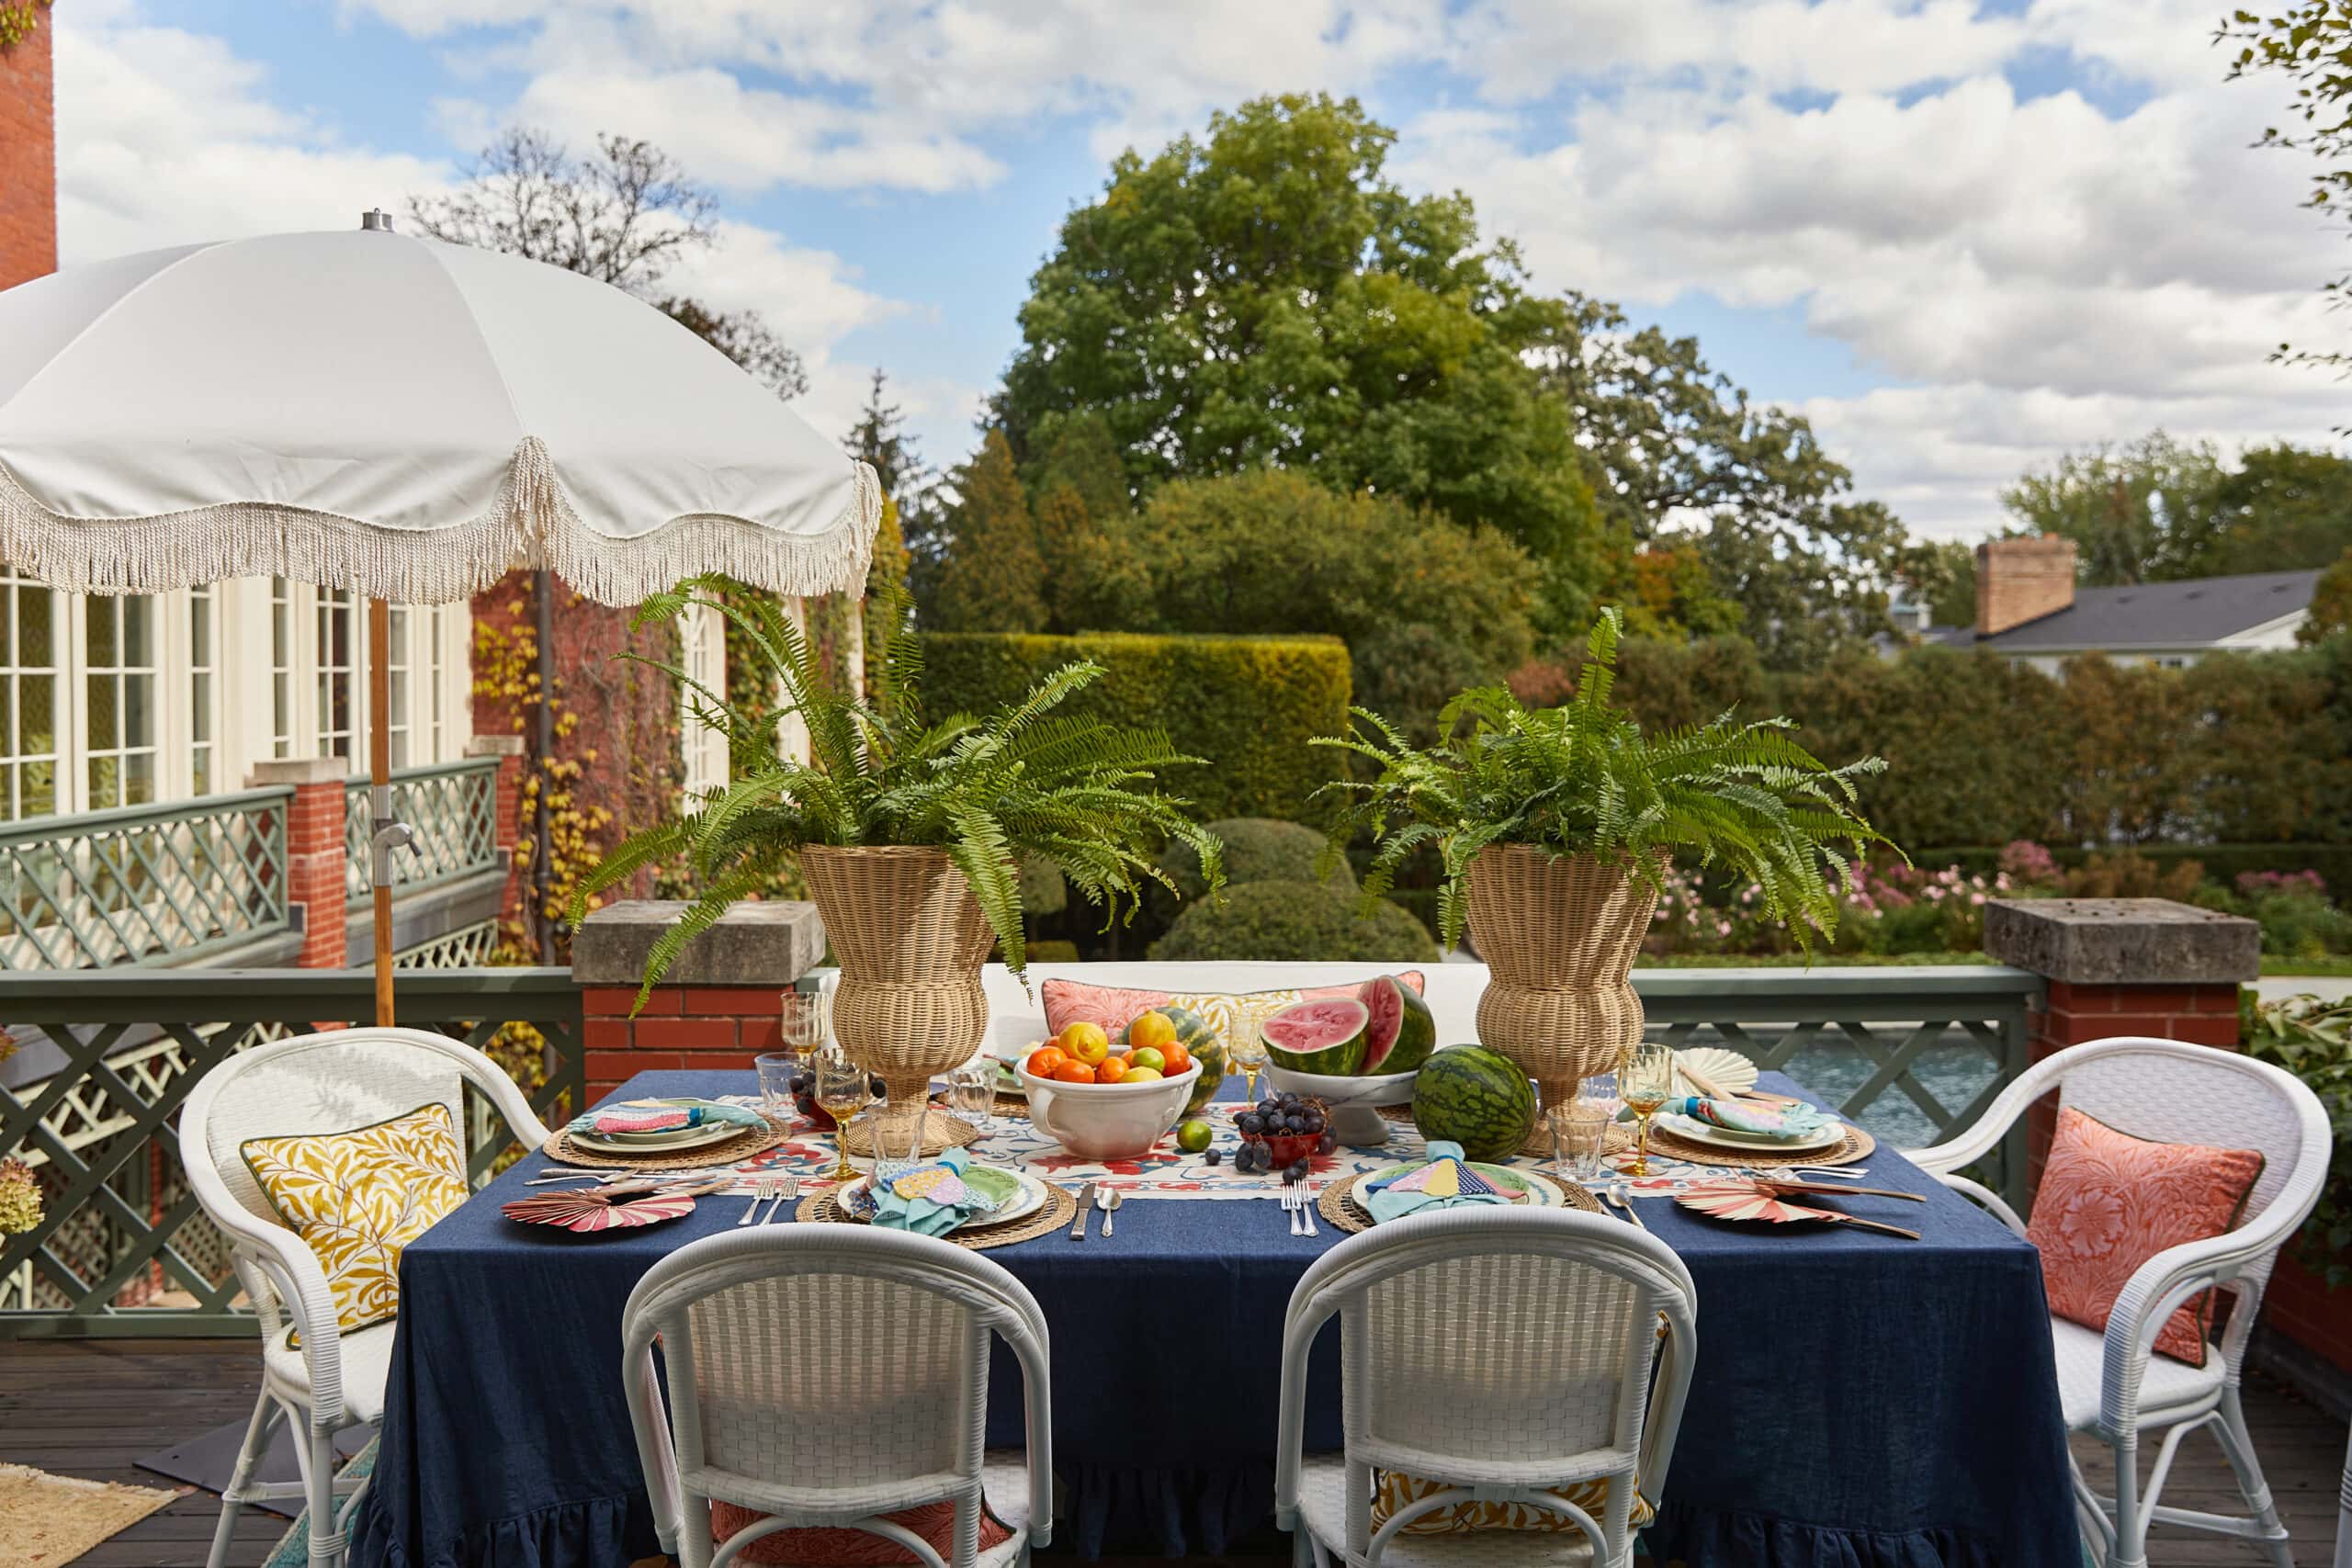
These cookies looked fabulous on our tabletop spread and look like so much fun to make. You can create your own watercolors and designs to suit your holiday preferences or table setting.
I asked Cate to share her recipe with us and she kindly obliged:
“Any sugar cookie or shortbread recipe can be used for these cookies. While fondant is the best surface for this design, this look can be achieved with royal icing or a smooth buttercream as well. If you want to add buttercream underneath your fondant, you can please even the toughest cookie critic! To achieve this look, I make a homemade fondant with marshmallows and butter and paint the design using Wilton gel colors on top. To make the colors, I use a toothpick to mix the gel color with lemon extract to create an edible “watercolor”. And then I paint the color on with a brush. This has been my favorite technique to use lately on cookies and cakes! ” – Cate Gutter
Whisked by Cate’s Recipe for Marshmallow Fondant & Watercolor Painted Cookies
Marshmallow Fondant:
- 1/4 stick (4 tablespoons) of unsalted butter
- 1-16 oz bag of mini marshmallows
- 1/4 cup of water
- 1 tablespoon of vanilla extract (or your extract of choice like almond or lemon)
- 2 lbs of powdered sugar
1) Place the marshmallows in a large microwave-safe bowl. Microwave for 30 seconds to 1 minute to start melting the marshmallows. Slowly stir the water and vanilla extract into the hot marshmallows, and mix until it is smooth. Next, beat in the powdered sugar, a cup at a time, until you have a sticky dough (this can get messy!). Reserve 1 cup of powdered sugar for kneading. The dough will be very stiff.
2) Cover your hands with the butter to keep the dough from sticking! Now begin kneading the sticky dough which will become easier to work with. Turn the dough out onto a surface dusted with powdered sugar and continue kneading until the fondant is smooth and no longer sticky to the touch, this will take about 5 to 10 minutes.
3) Roll the fondant into a ball, wrap it tightly in plastic wrap, and refrigerate it overnight. When you are ready to use it, allow the fondant to come to room temperature, and roll it out onto a flat surface dusted with powdered sugar.
4) Use a circle cookie or biscuit cutter to create your fondant circles, place onto cool cookies and paint away!
Can’t wait to give this go! Let me know if you try it, and share your pictures : ) Thanks for sharing your recipe with us Cate! See more of Cate’s stunning bakery goods here: http://www.whiskedbycate.com/
XOXO – CLAIRE
Leave a Reply
October 7, 2024
read the post
YOU MIGHT ALSO LIKE
April 17, 2024
read the post
September 2, 2021
read the post
August 24, 2021
read the post

Meet Claire
Claire’s creative energy comes from her unique perspective on the world as both a trained interior designer and a passionate yoga teacher. Her affinity for kitchen design, timeless style and eclectic decorating are shared here, along with lots of interior design education and tips. Thanks for being here, please enjoy!

