

Alright, it’s week four and we are in the home stretch to get this little office makeover finished. The walls, windows, trim and floor have been painted! And a few months back, my mom-in-law helped me make roman shades from a flea market table cloth find (more on that below). I thought I would focus on organizing your home office this week, as I know lots of my clients struggle with clutter. I struggle too! Especially when it comes to interior design resources. It’s hard to let go of items you may need in the future, right?
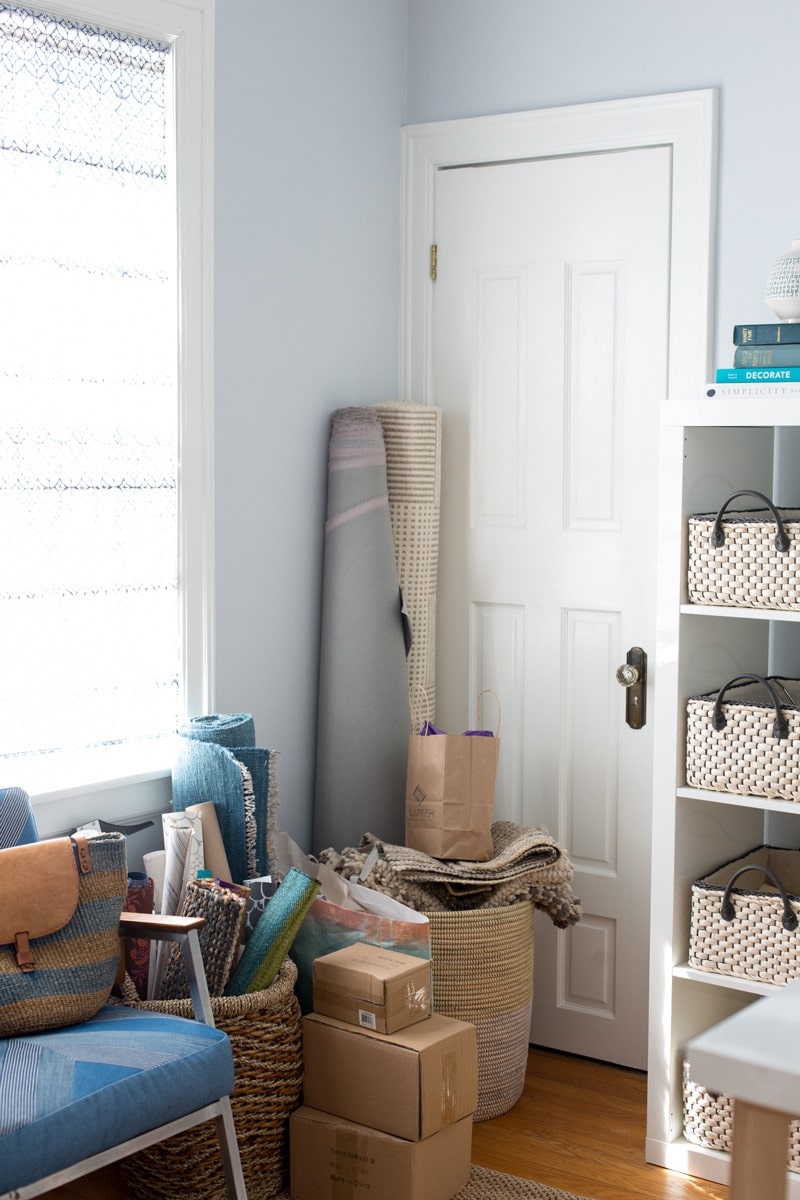
I focused on purging the office this week. Fabric swatches, boxes of props, rugs, etc…had been building up. See exhibit A right here. It’s not terrible, but I feel so much better working in a clean and organized space. That closet with the door shut was also overflowing and needed some assistance too.
Here are some of the things I did to organize the office. I think you can apply similar steps to any room in your home:
- Throw shit away (or donate)! I had tons of papers, old fabrics, boxes, wrapping paper, etc. I got a few big storage Tupperware and put all my old fabrics in to bring to the design school library. I also took anything I didn’t really use on a weekly basis (stone samples, catalogs) and put them in boxes that stacked neatly. I can get to them if I need them, but now I don’t have loose stuff everywhere.
- Utilize hooks, shelving and empty wall space. Even with a large IKEA storage shelf and a big bulletin board, I needed more places to put things! Next week, my plan is to take my bulletin board wall and add lots of hooks for samples. I’ll create a fun gallery wall effect by adding in some art, and get my samples off the floor.
- Make your closet storage more functional. These old closets have nothing more than a hanging rod across with enough room for a few coats! Adding extra shelving, more hooks and risers on the floor of the closet maximizes what you can squirrel away.
- Pretty things up. Baskets, plants, flowers, a few throw pillows and organizing shelving and bulletin boards goes a long way towards pulling your space together. Just because you had something in one place, doesn’t mean you can’t move. I decided I need to rearrange and get rid of my extra chair and art easel to create some more room to grow.
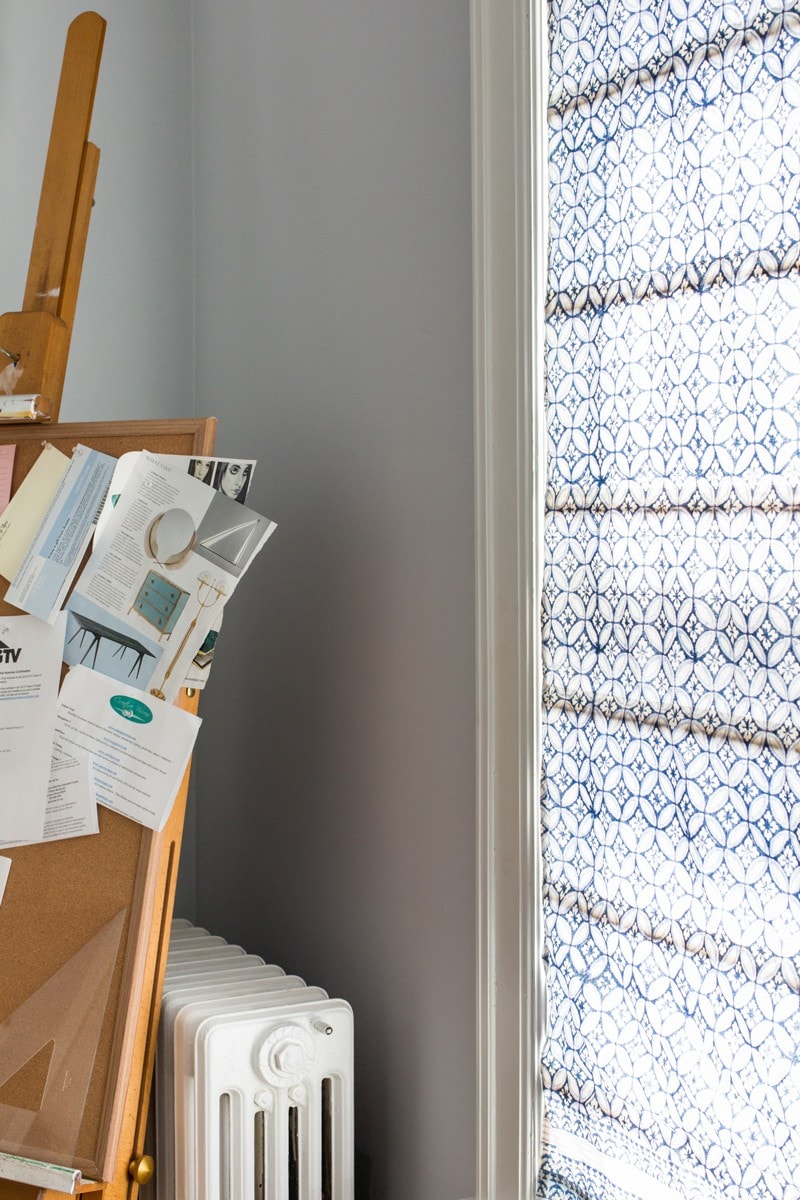
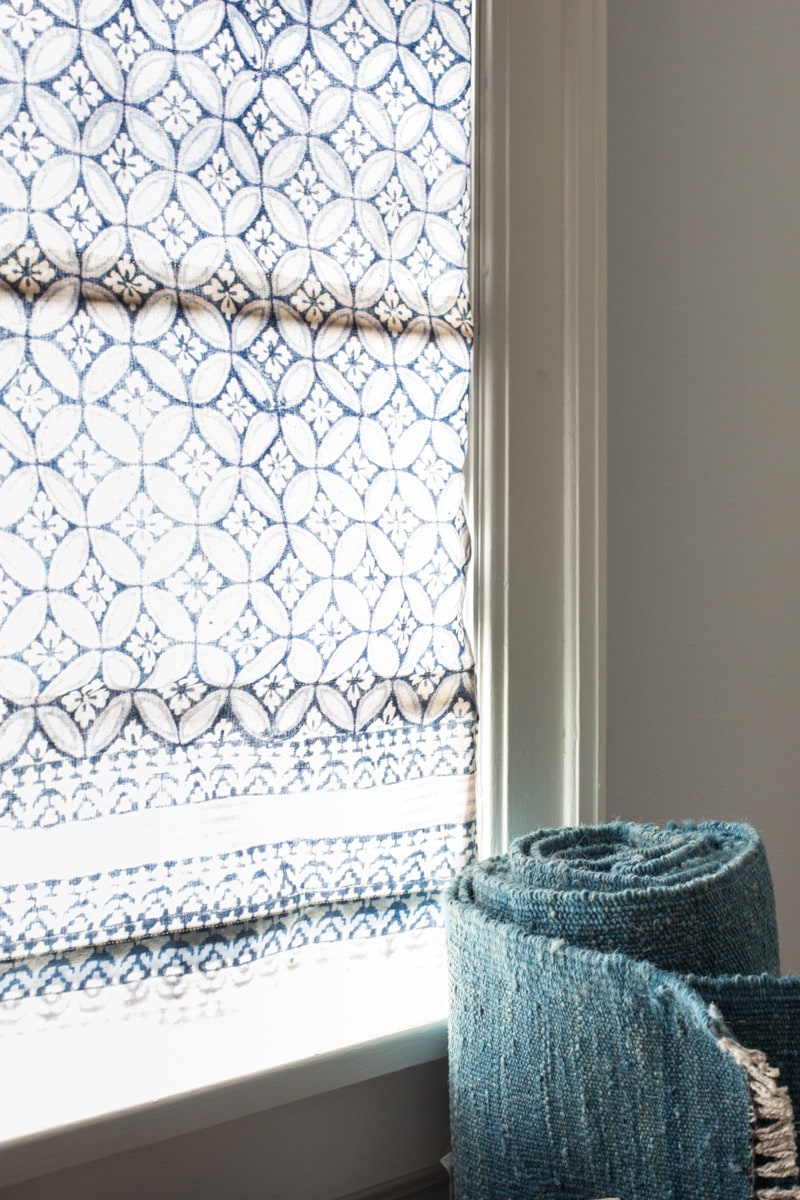
A note about making roman shades. I can’t claim I did this project on my own! My mother-in-law is a great seamstress and did a lot of the finishing work. What I can tell you is that neither of us had done this before, and we used a kit a lot like this one that came with almost everything you need. The hardest part was really doing all the cutting, and making sure your measurements are accurate and match (if you’re making two). I suggest buying your fabric and a matching lining. The other challenging part is sewing the dowels between the fabric. You need to make sure you have enough fabric on either side of the dowel to sew them into the shade, and we had to cut our dowels down a little bit to be able to sew next to them without any issues. I don’t recommend the no-sew roman shade kit. You can also avoid dowels altogether and use a cord tape. I highly recommend this set from ROWLEY DIY. I think if we made another set, we’d buy this kit! It also comes with all the sewing instructions. This is a great beginner project for sewing, because it’s all straight lines.
See you next week with one last update before the big reveal!
XO – CLAIRE
Leave a Reply
April 17, 2024
read the post
YOU MIGHT ALSO LIKE
September 2, 2021
read the post
August 24, 2021
read the post
May 15, 2021
read the post

Meet Claire
Claire’s creative energy comes from her unique perspective on the world as both a trained interior designer and a passionate yoga teacher. Her affinity for kitchen design, timeless style and eclectic decorating are shared here, along with lots of interior design education and tips. Thanks for being here, please enjoy!

