

I get so much satisfaction from taking something old, forgotten and (let’s be honest) ugly and making it new and awesome! This satisfaction is greatly increased when I’m able to score the old item for a bargain, and use a little DIY elbow grease in the transformation process. I found these super 70s bentwood ottomans at Randolph Street Market this summer for $6 bucks a piece.
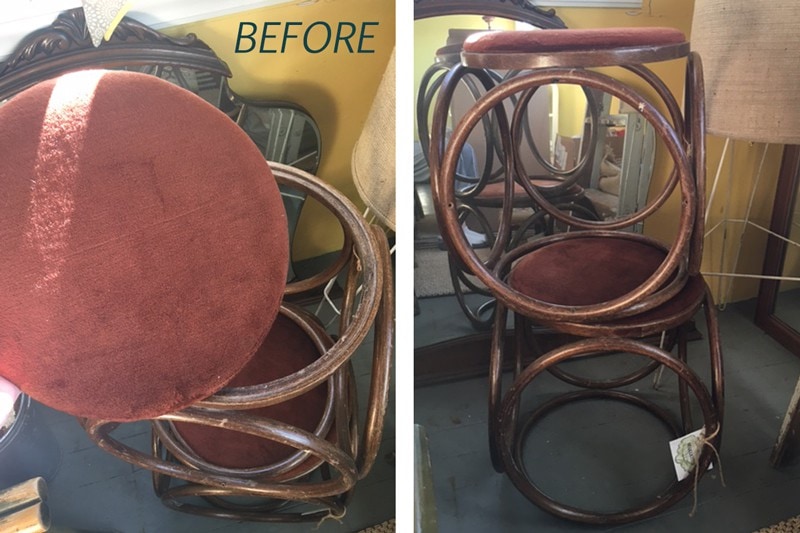
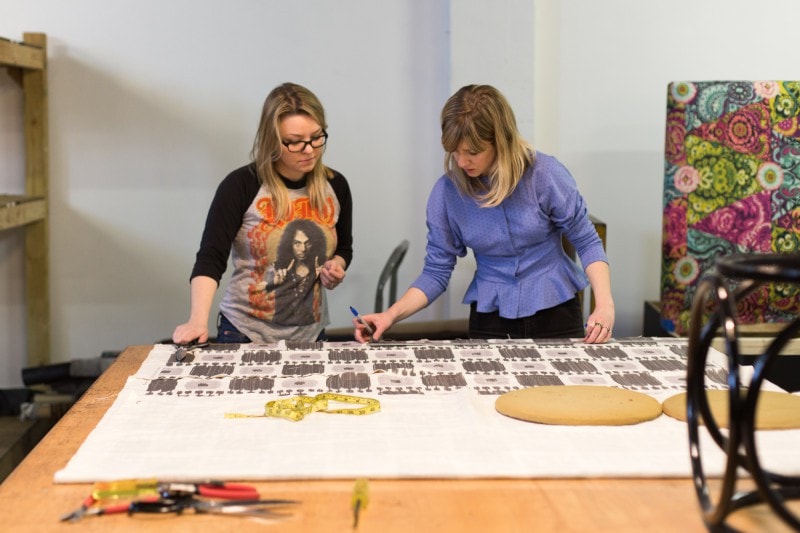
At the time, I had no perfect project for these babies, but I knew they’d look great with a makeover. When I contacted Kylie Egge, of Recovered Interior, to arrange her Women Who MAKE interview I asked her if she’d being willing to share her DIY upholstery tips on the blog. She said yes, and I had the perfect little project in mind, these bentwood ottomans!
The following steps will work just as well for chair with a removable seat, and the upholstery part of the makeover took us about 45 minutes in total! The amazing paint job on the ottomans/stools was courtesy of my girl MegMade. I highly recommend Meg Piercy and her fabulous company for any painting or refinishing job large or small (they have upholstery services as well). Meg’s team can create just about any finish or color for your item, which is very appealing to me as a designer…but of course, spray paint will do just fine!

STEP 1
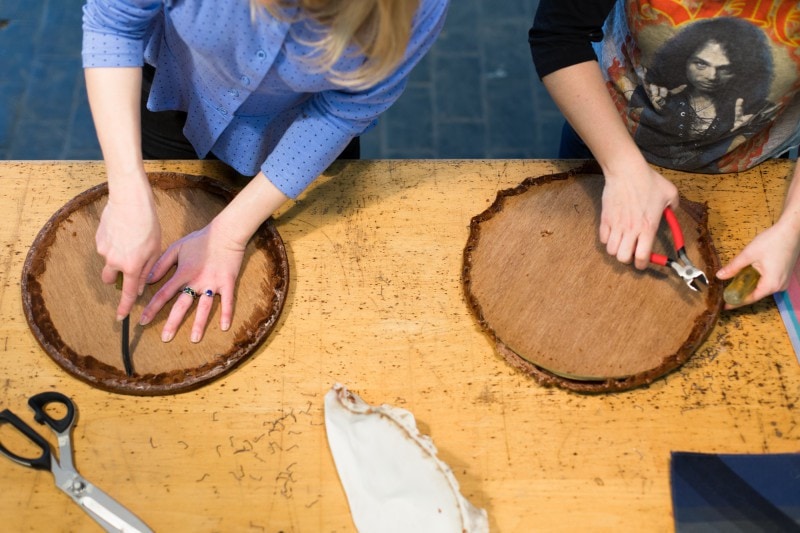
- Kylie and I were able to easily pop the ottoman lids out with a little prying. Then it was time to remove the old layers of staples with a staple lifter/remover. This was the most time consuming and hardest part, but once you get into a rhythm it goes fast. This tool is about $5 at any hardware store.
STEP 2
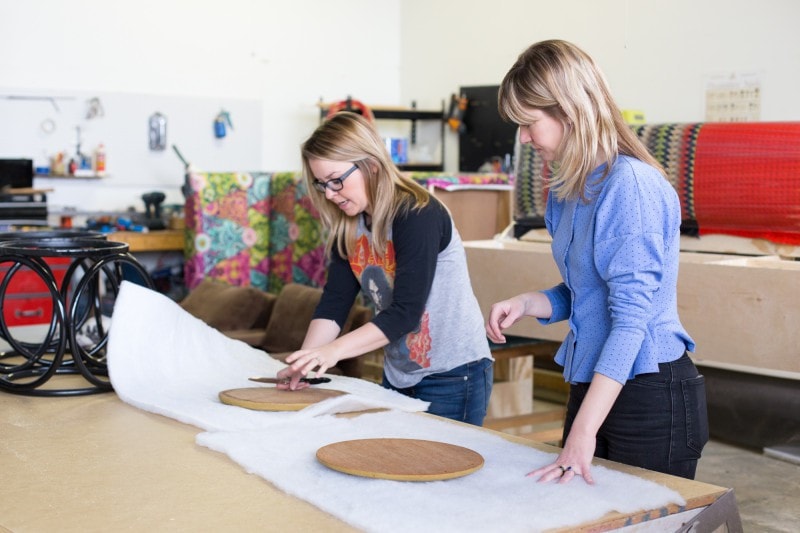
- After removing the old fabric we checked the foam. This foam was still in pretty good shape. If your foam looks old or really flat it would be a good idea to cut a new piece using the old one as a template. You can find basic upholstery resources like foam and dacron at JoAnn’s or Hobby Lobby.
- Next we covered the foam and wood with a layer of dacron, which is the white batting. Something like THIS from JoAnn’s should work well.
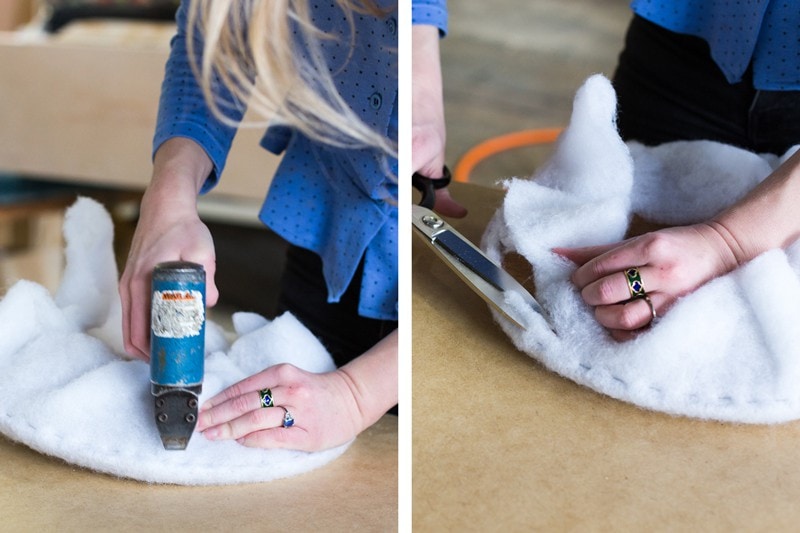
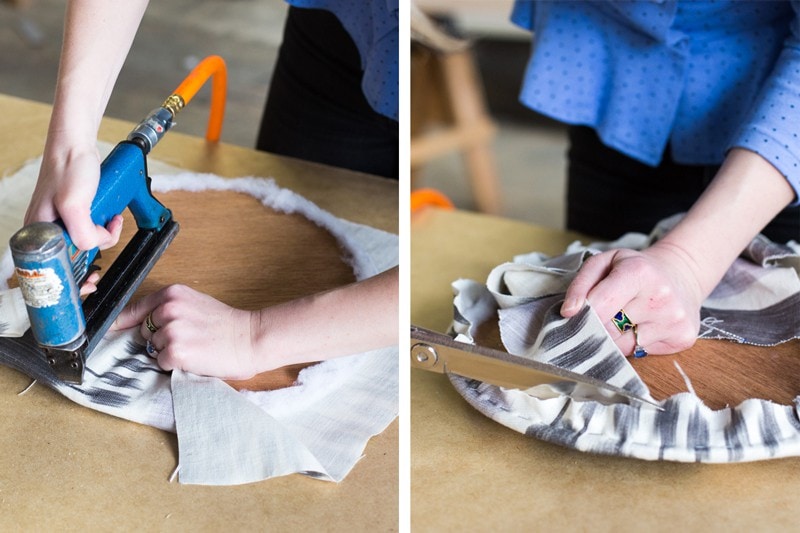
- You’ll need a pretty heavy duty staple gun to reupholster quickly. Kylie had an awesome pneumatic staple gun that uses a portable air compressor, but a regular staple gun is fine! Just make sure if your seat is thin (this was a very thin board) that your staple length is the right size.
- Make sure to give yourself a nice two inch border all the way around the seat, and staple close the edge. Cut off the excess when finished.
STEP 3
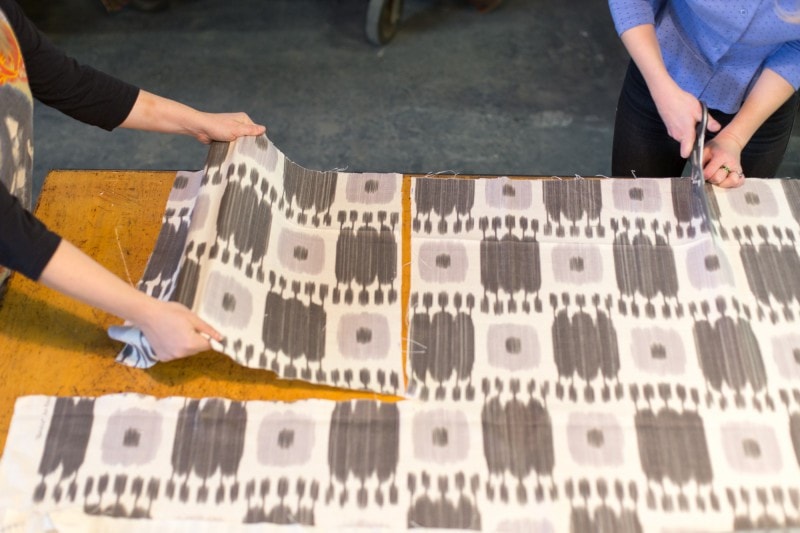
- Fabric time! Layout your fabric and take a measurement of the width/length of your piece. Again, make sure to leave yourself an extra few inches on all sides, especially if you want some play to move around the pattern on the fabric.
- Make some cutting guidelines with a ruler and a pencil and cut out your pieces.
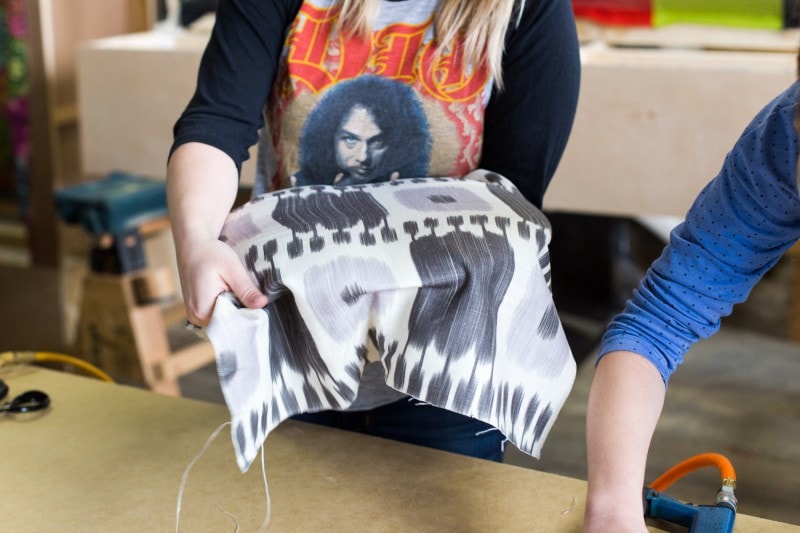
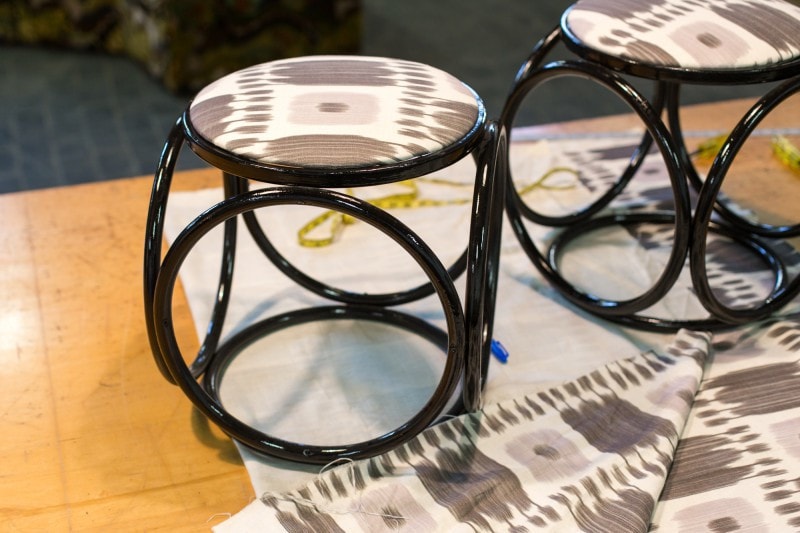
- Now you’ll place the fabric over the seat, and repeat the same process you used with the dacron/ white batting. Of course, you will want to be a little more careful since this is the fabric portion! Make sure to work opposite corners first. For this circle, we did the top and bottom first and then added a few staples to the sides before finishing it all around.
- The PRO TIP is to make sure a turn the seat over to look at how the fabric is lying before stapling it all into place. You can still pull and manipulate the placement of the fabric when just three or four corners are stapled. Pull tightly! Trim excess.
STEP 4
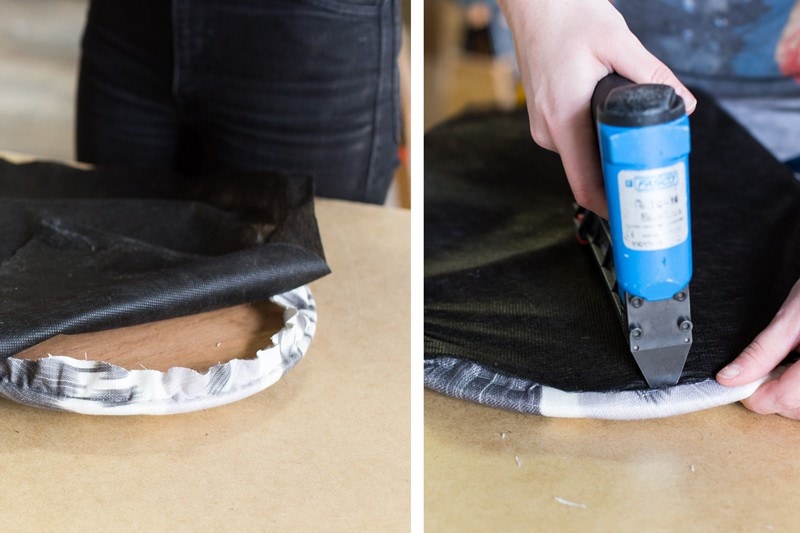
- Finish the back of the seat with an underling. JoAnn’s carries THIS black utility underlining.
- Cut the lining to size (adding those extra inches again), and then roll the edge under as you staple to create a nice finished look.
STEP 5
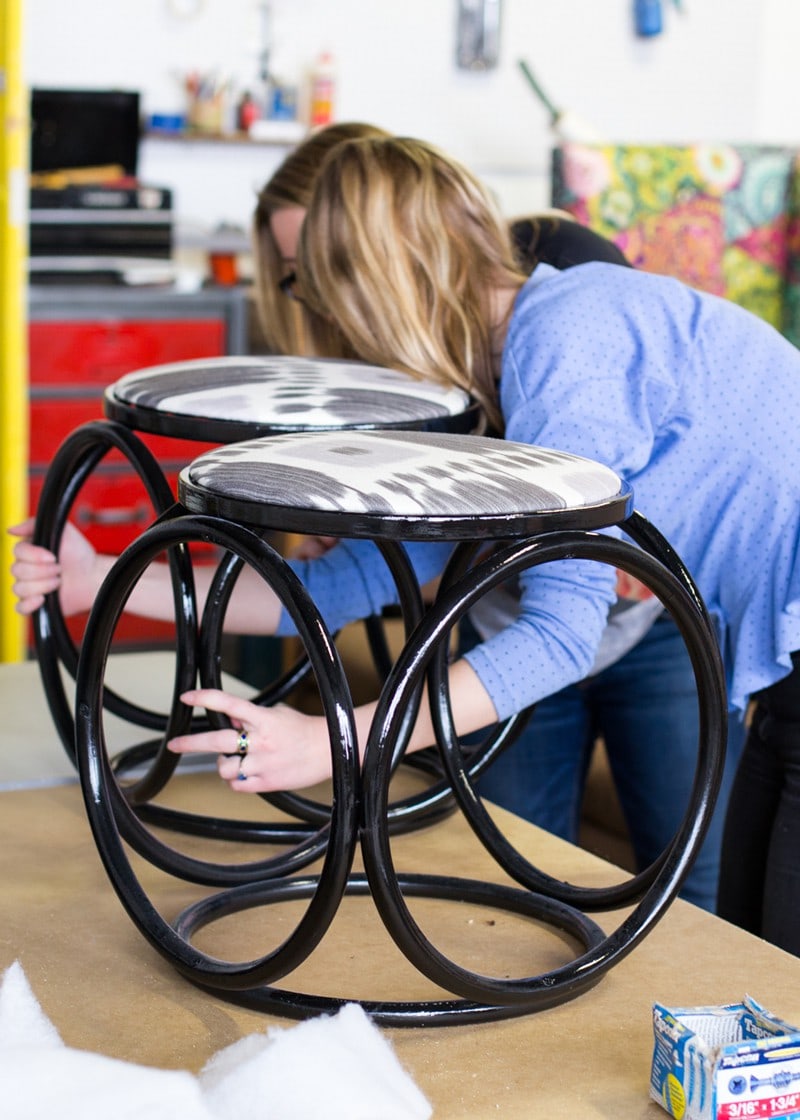
- Place your seat back into its frame. You may need some glue or finishing nails to secure your piece. We used a little bit of hot glue to secure the ottomans.
STEP 6
- Enjoyed your finished piece!
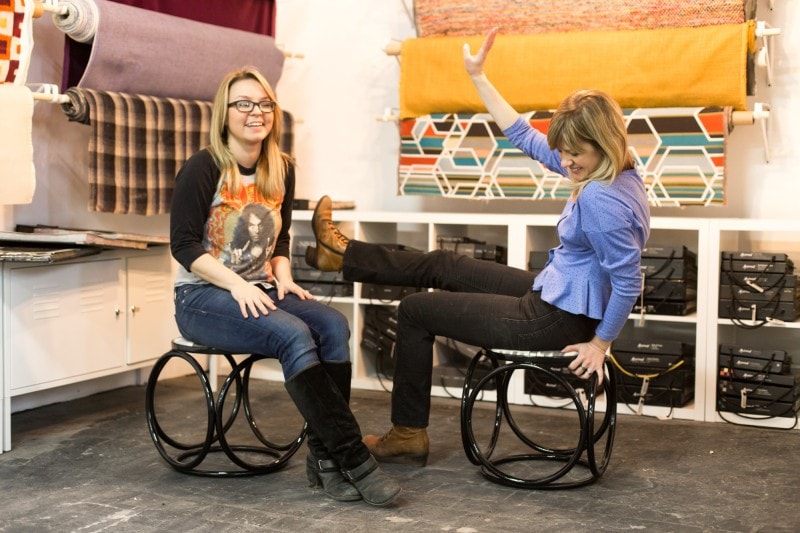
Remember the bad brown 70s before photo? I love the sleek and mod updated ottomans! Hope you are inspired to give DIY upholstery a try at home!
SPECIAL THANKS to Kylie Egge of Recovered Interior, Meg Piercy of MegMade, and photographer Carolina Mariana for their contributions to this post.
XOXO – CLAIRE
Leave a Reply
April 17, 2024
read the post
YOU MIGHT ALSO LIKE
September 2, 2021
read the post
August 24, 2021
read the post
May 15, 2021
read the post

Meet Claire
Claire’s creative energy comes from her unique perspective on the world as both a trained interior designer and a passionate yoga teacher. Her affinity for kitchen design, timeless style and eclectic decorating are shared here, along with lots of interior design education and tips. Thanks for being here, please enjoy!


I love this post! Learning how to upholster has been so beneficial in various projects in my home! I took a class at The Needle Shop (http://www.theneedleshop.net/) and made a gorgeous ottoman! From there o have reupholstered a few chairs and now working on a very similar project to yours! Love your blog and learning new skills 🙂